Finom Coffee

INDEPENDENT COFFEE · YORKSHIRE

Good coffee.
Yorkshire
mornings.

A friendly hello with every cup.
A new coffee stop on the horizon.

Meet Finom

Our coffee van is getting ready to hit the road.

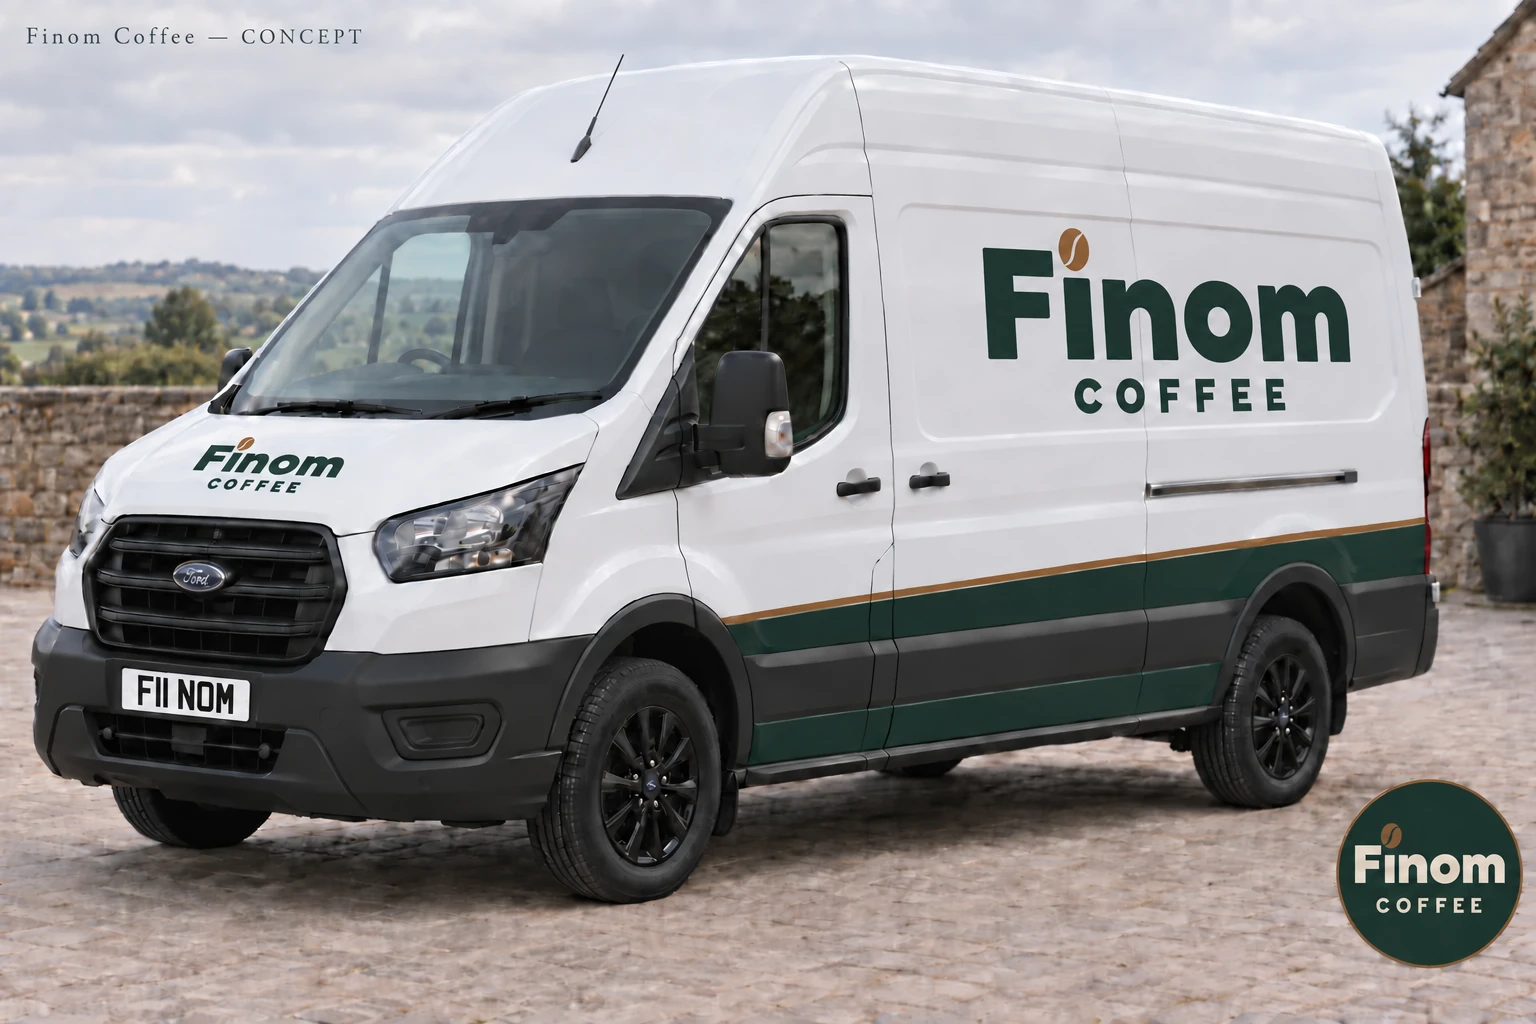
Finom Coffee branding concept on a white Ford Transit, with green lettering, a copper coffee bean above the i, black wheels and F11 NOM number plate
THE VISION FOR OUR VAN · BRANDING CONCEPT
Finom

Made for your coffee moment.

A fresh start. A new coffee stop.

OUR STORY

A love of coffee.
A coffee van for Yorkshire.

Finom Coffee began with an idea: to build an independent coffee business around good coffee and a friendly welcome.

Yorkshire is where our journey begins. We’re turning a Ford Transit into a coffee van, ready for new places, familiar faces and those everyday coffee moments.
THE JOURNEY · AUGUST–OCTOBER 2026

From van to
coffee stop.

Before the first coffee comes the build. Follow our progress as we turn an ordinary van into Finom Coffee, one job at a time.

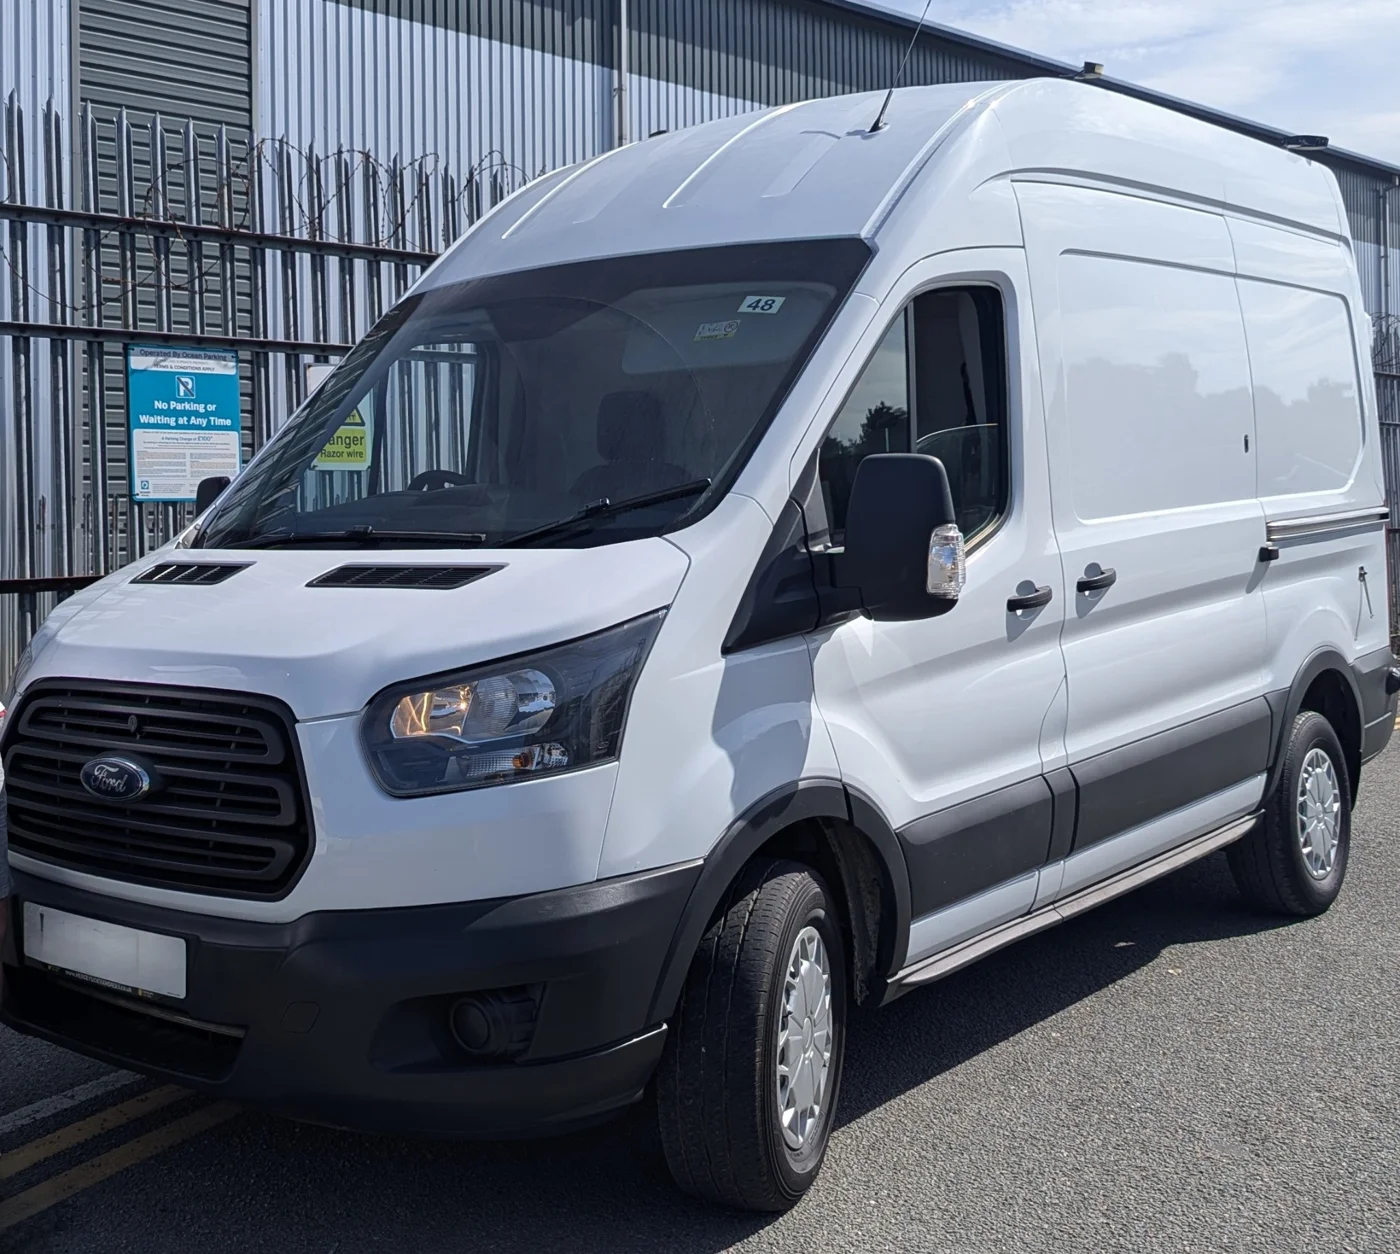
  1. White Ford Transit before the coffee van conversion
    01

    The van is ours.

    The first step: buying the van that will become Finom Coffee.

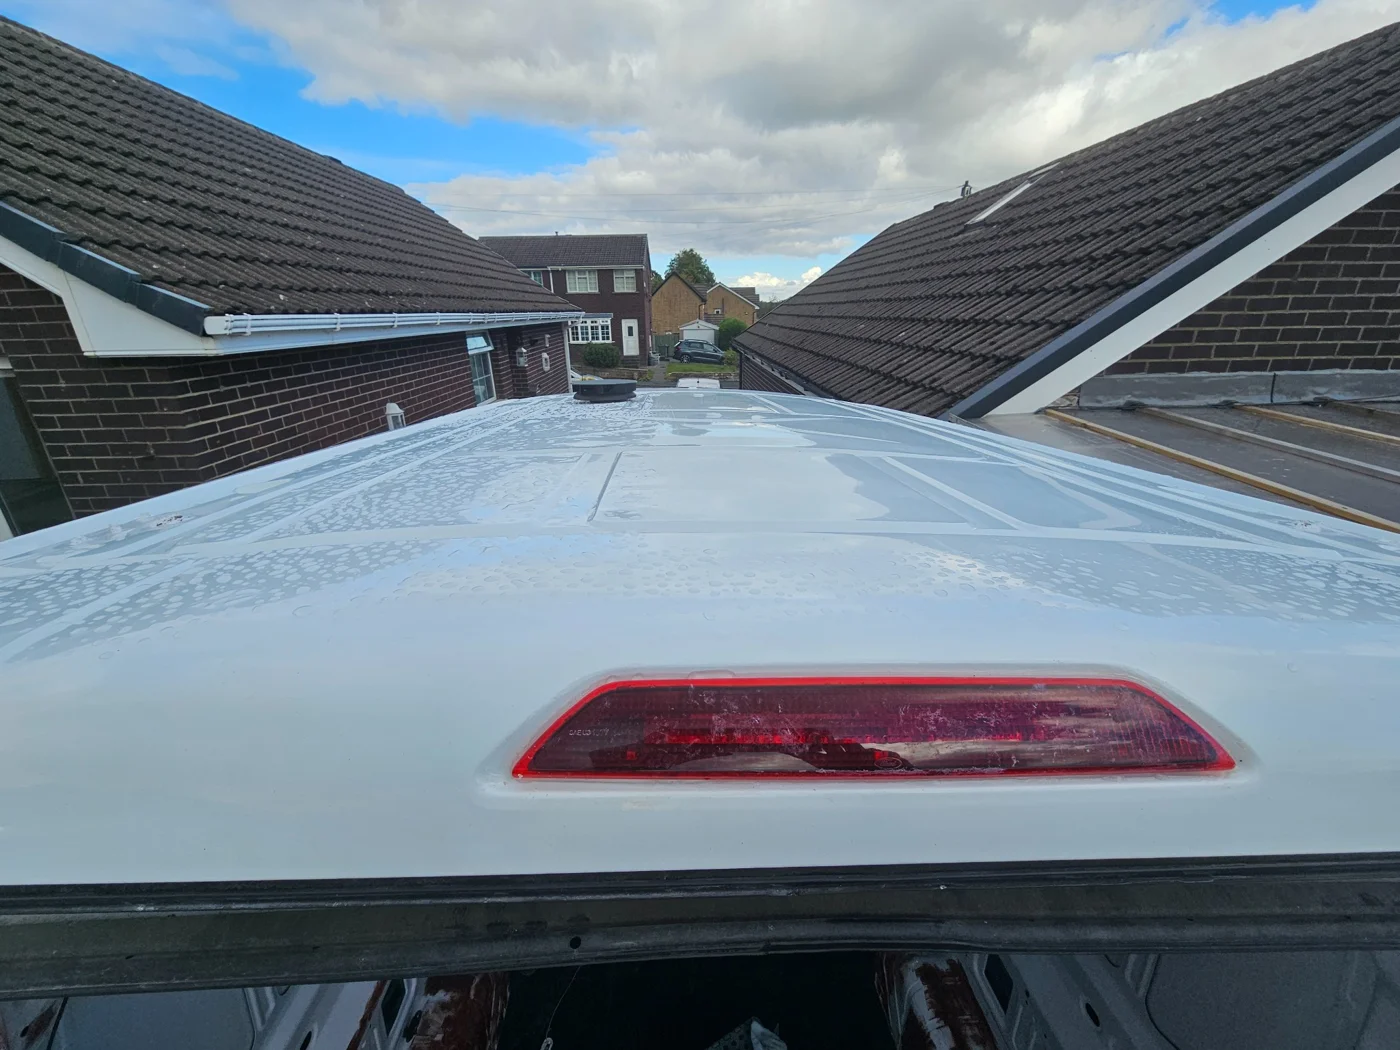
  2. Clean white van roof ready for solar panel installation
    02

    Ready for solar.

    The roof has been cleaned, repaired and waxed, ready for the solar panels to be installed.

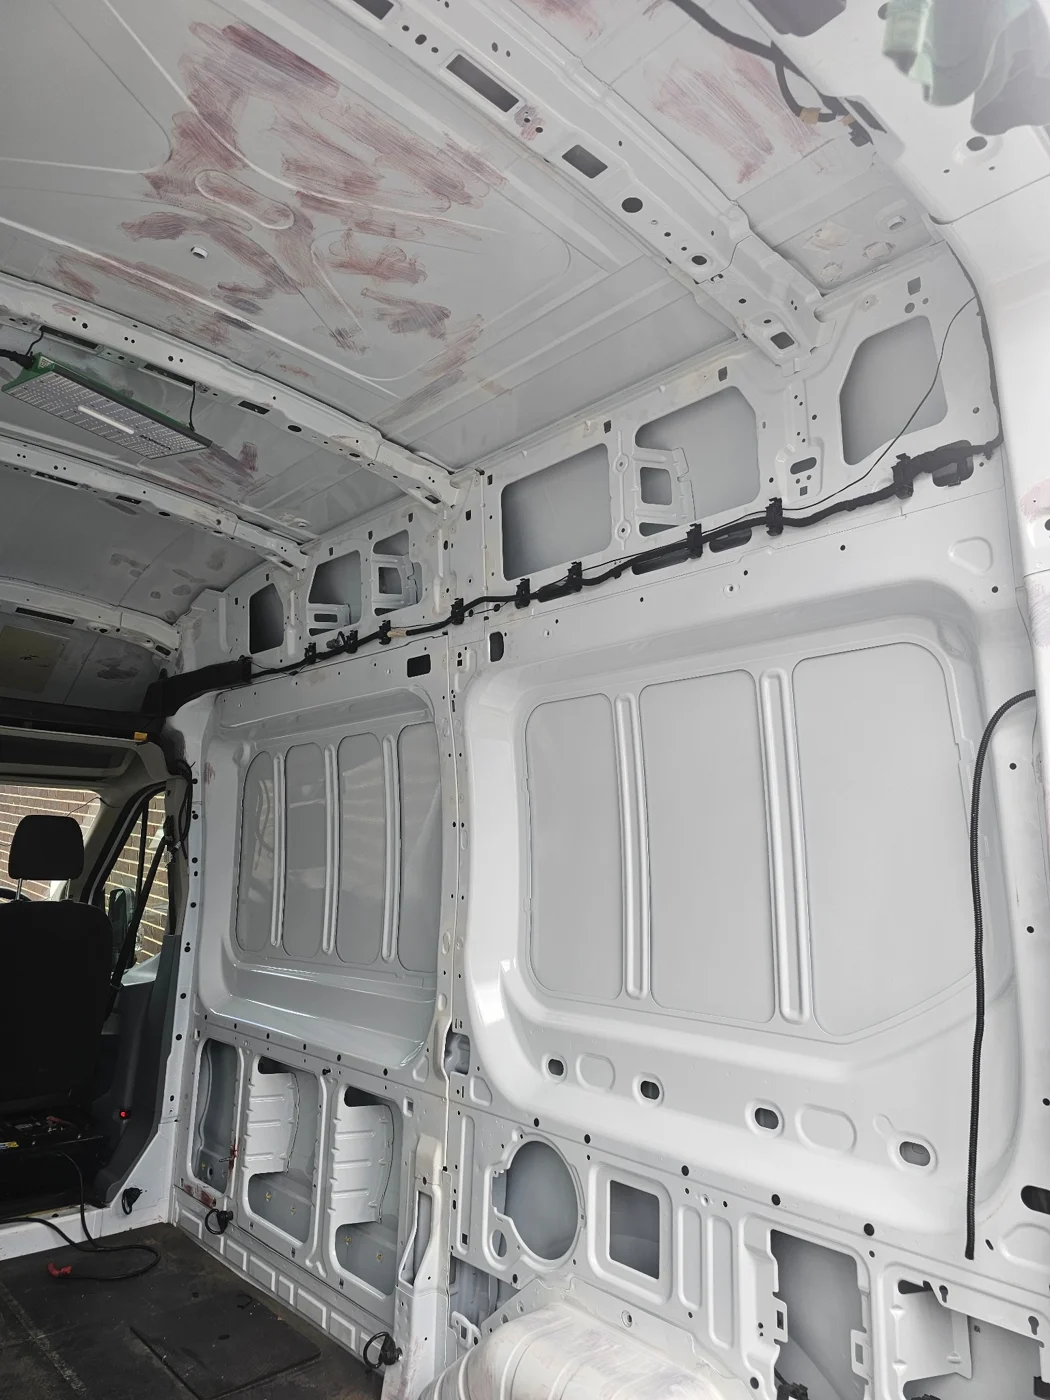
  3. Freshly painted interior walls of the van
    03

    A fresh start inside.

    The walls have been cleaned, sanded, primed and painted.

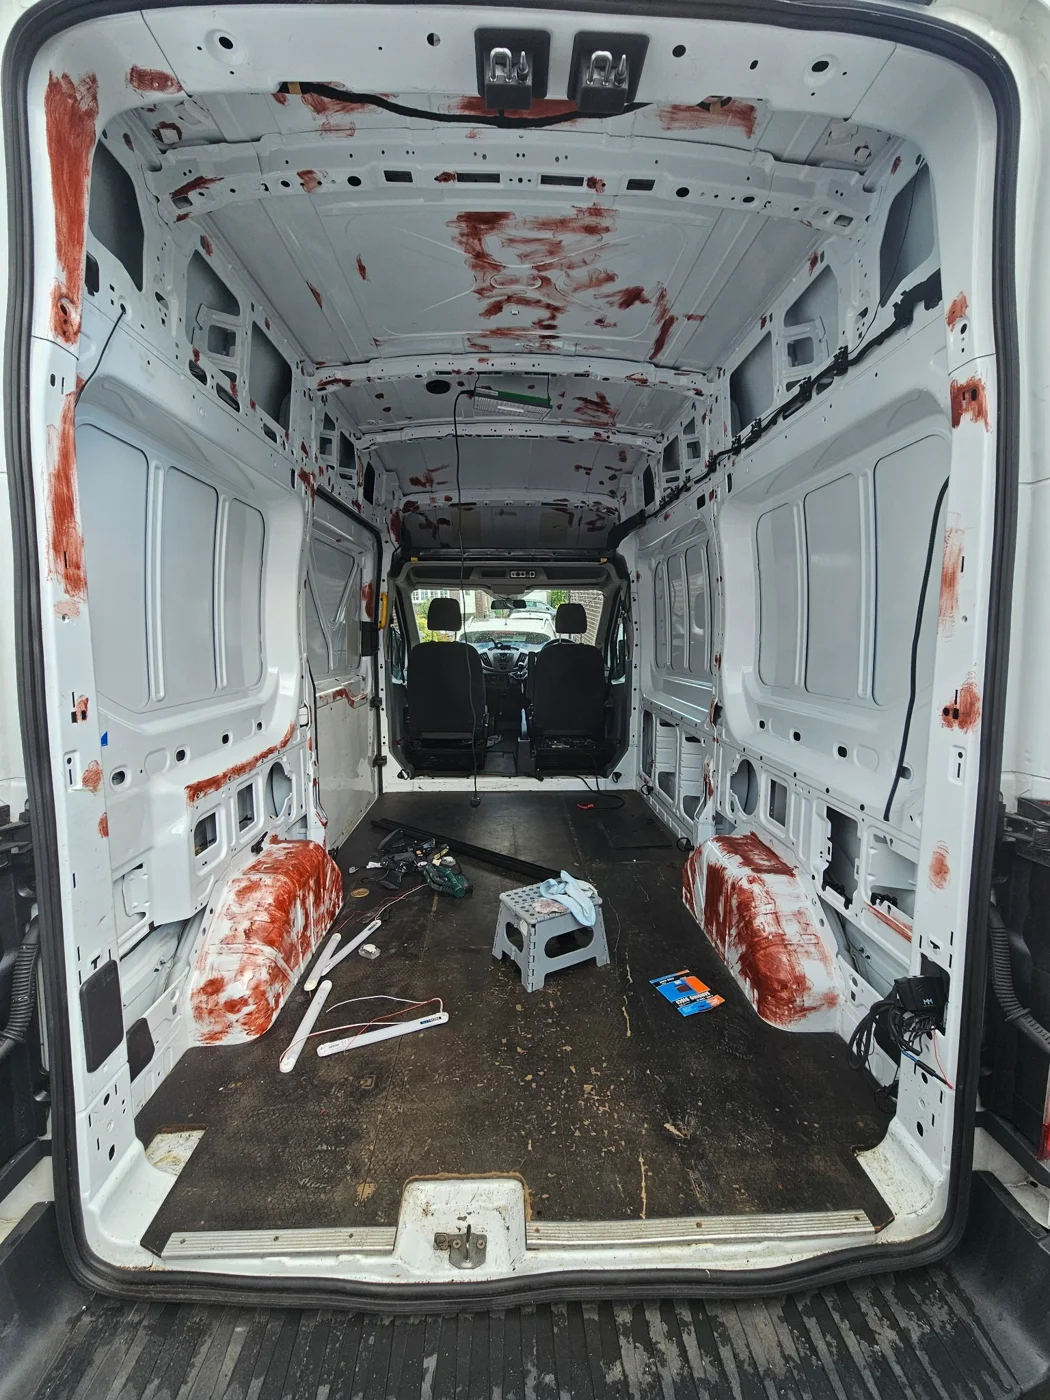
  4. Van interior during cable removal and painting
    04

    Clearing the way.

    Cables removed and more painting under way as the interior takes shape.

  5. Old flooring being removed to expose the metal van floor
    05

    Out with the old floor.

    The old flooring comes out, ready for a thorough clean underneath.

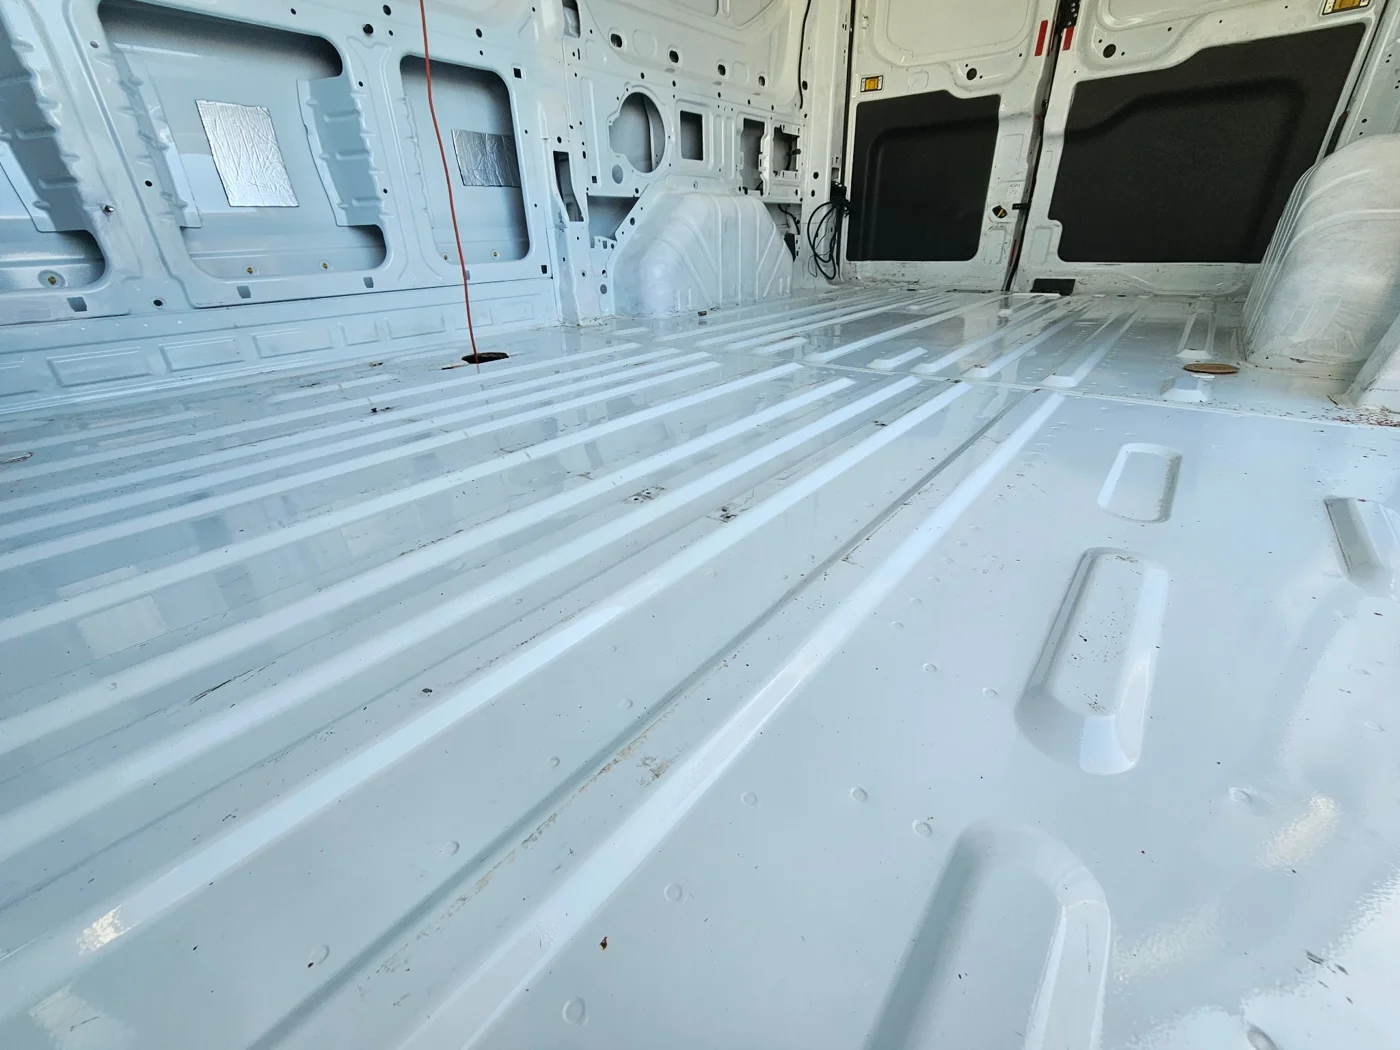
  6. Clean metal van floor after the old flooring was removed
    06

    What a difference a clean makes.

    We have a clean, shiny floor! A satisfying step forward in the build.

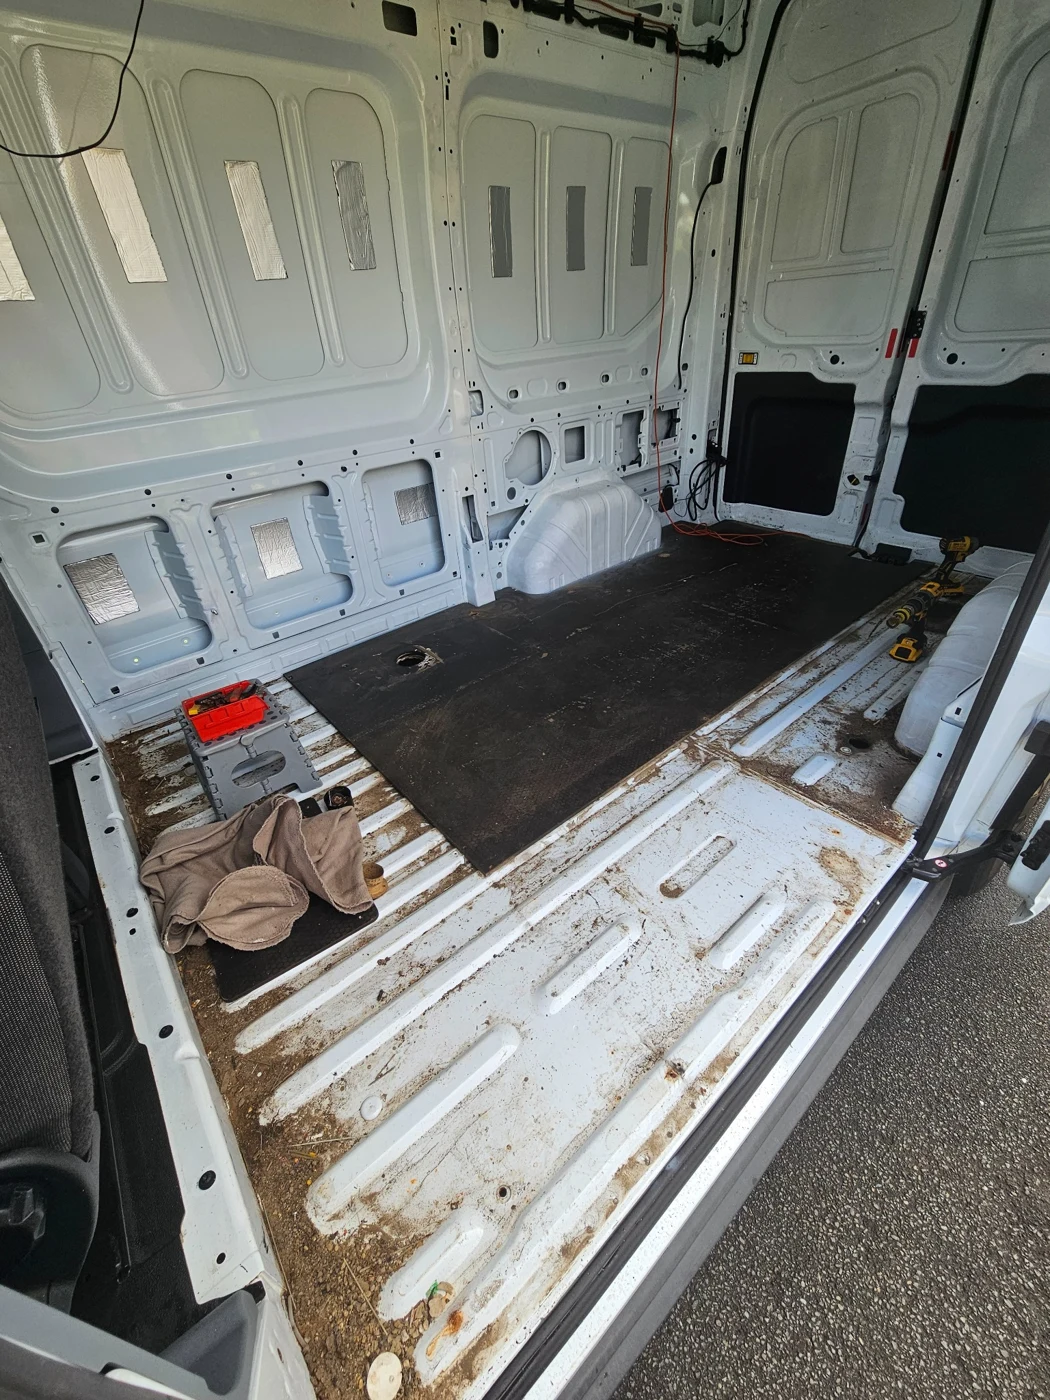
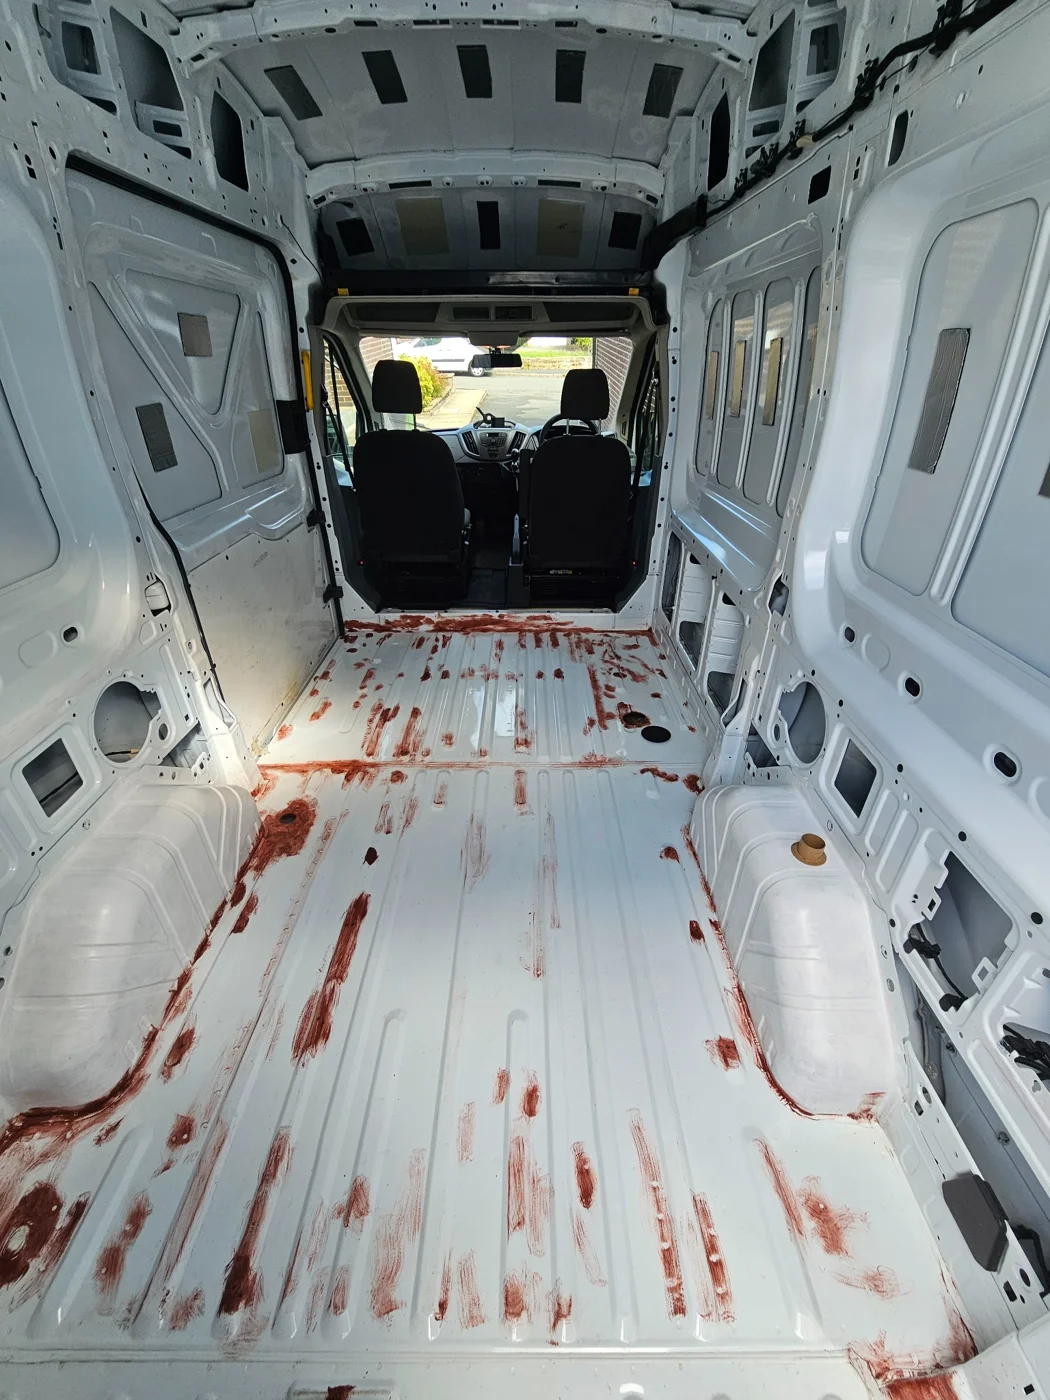
  7. Van floor with repaired areas and red primer on scratches
    07

    The preparation continues.

    The floor has been sanded, holes filled and scratches primed.

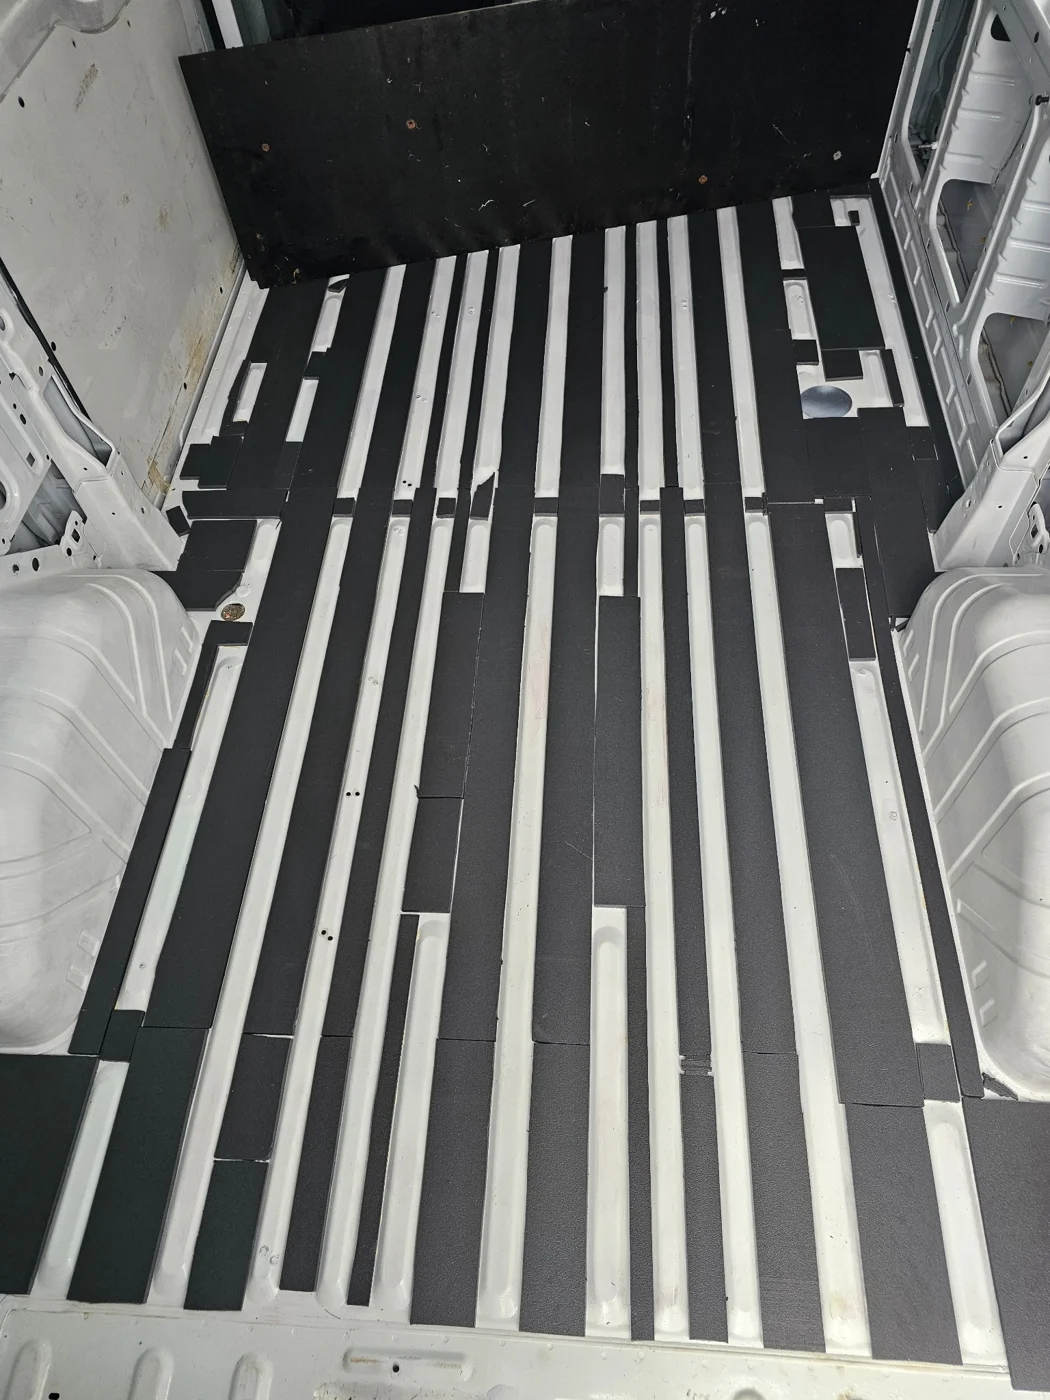
  8. Black levelling strips fitted between the ribs of the van floor
    08

    A level base.

    The floor has been levelled, ready for insulation boards before the finished floor goes down.

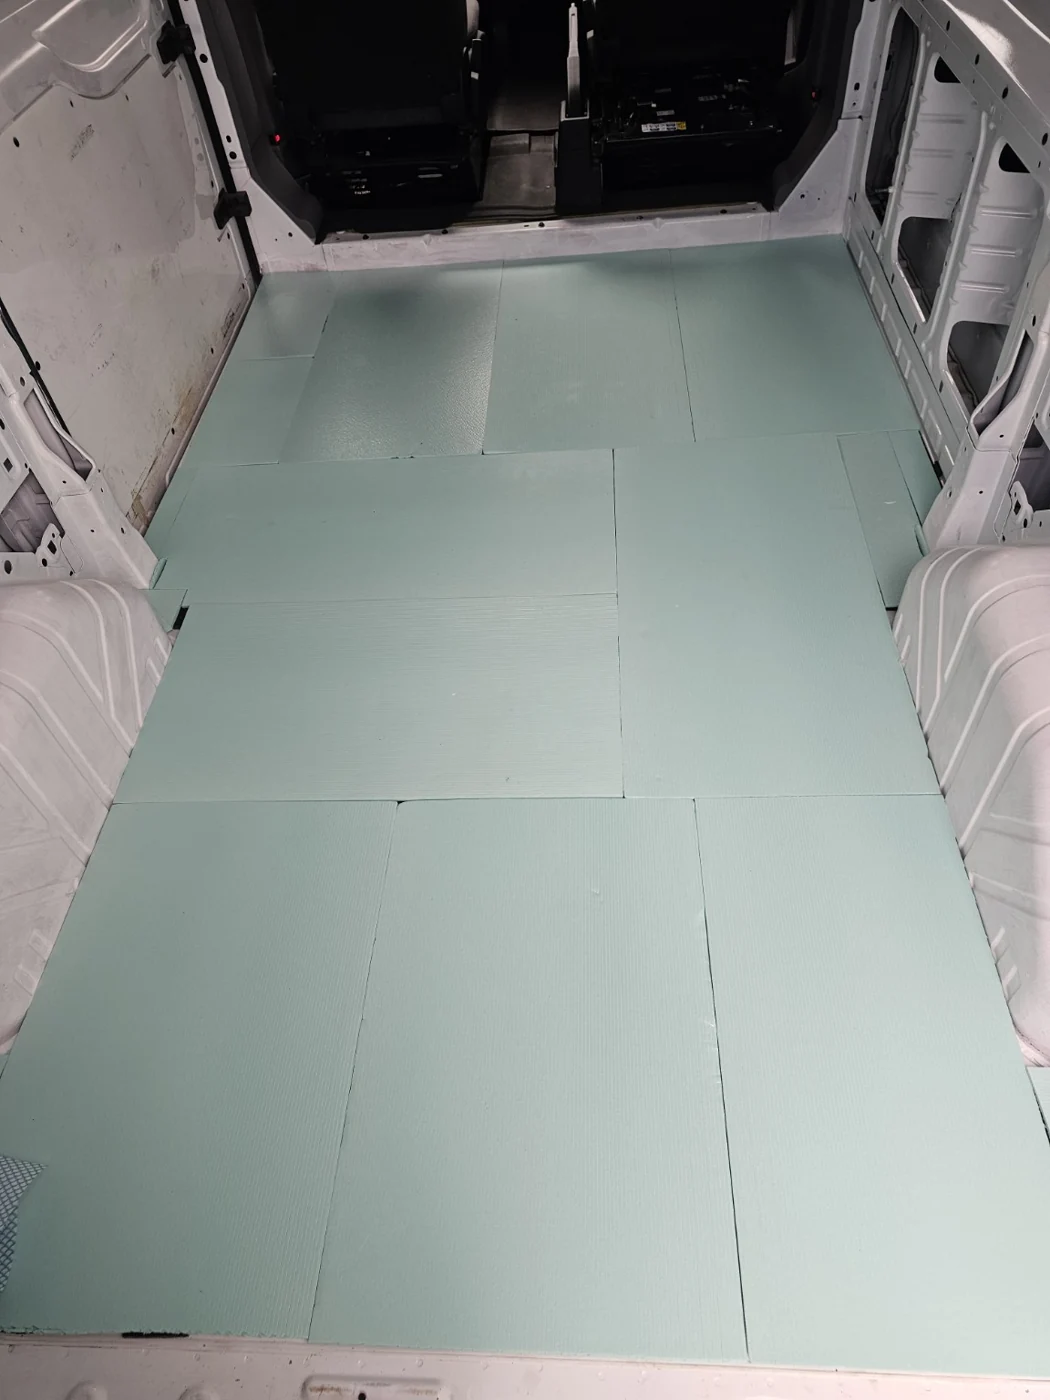
  9. Green insulation boards fitted across the van floor before the joints are taped
    09

    Insulation goes in.

    The insulation boards are cut to fit and laid across the floor. Another layer in place as the van takes shape.

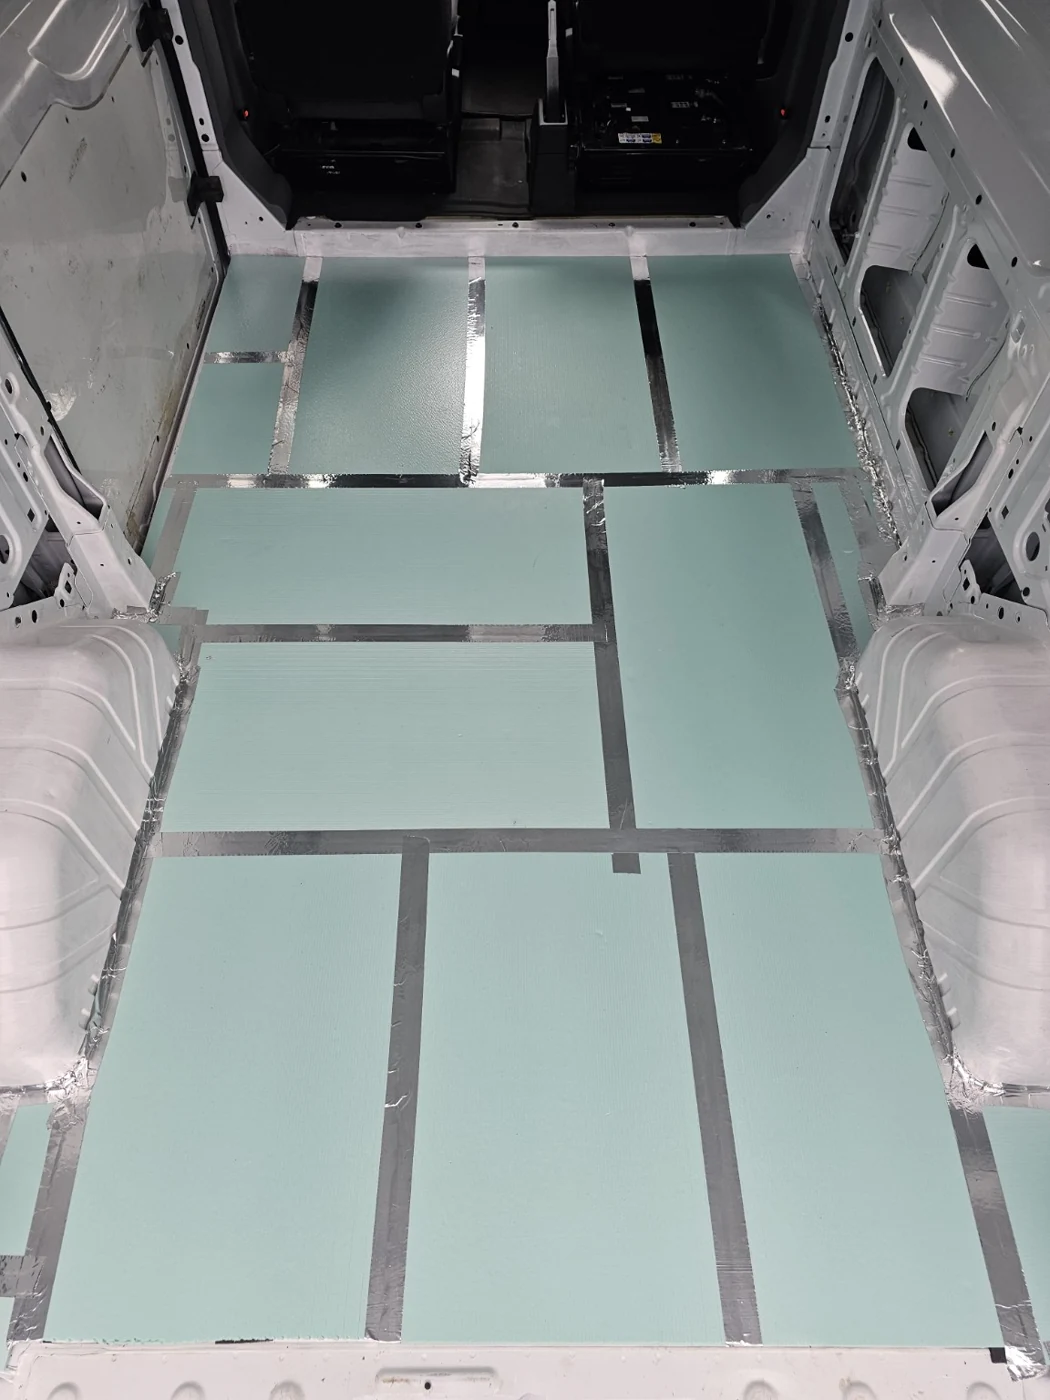
  10. Van floor insulation with silver tape covering the joints, ready for the floorboards
    10

    Ready for the floorboards.

    With the insulation in place and the joints taped, we’re ready to put the floorboards back. One step closer to our coffee van!

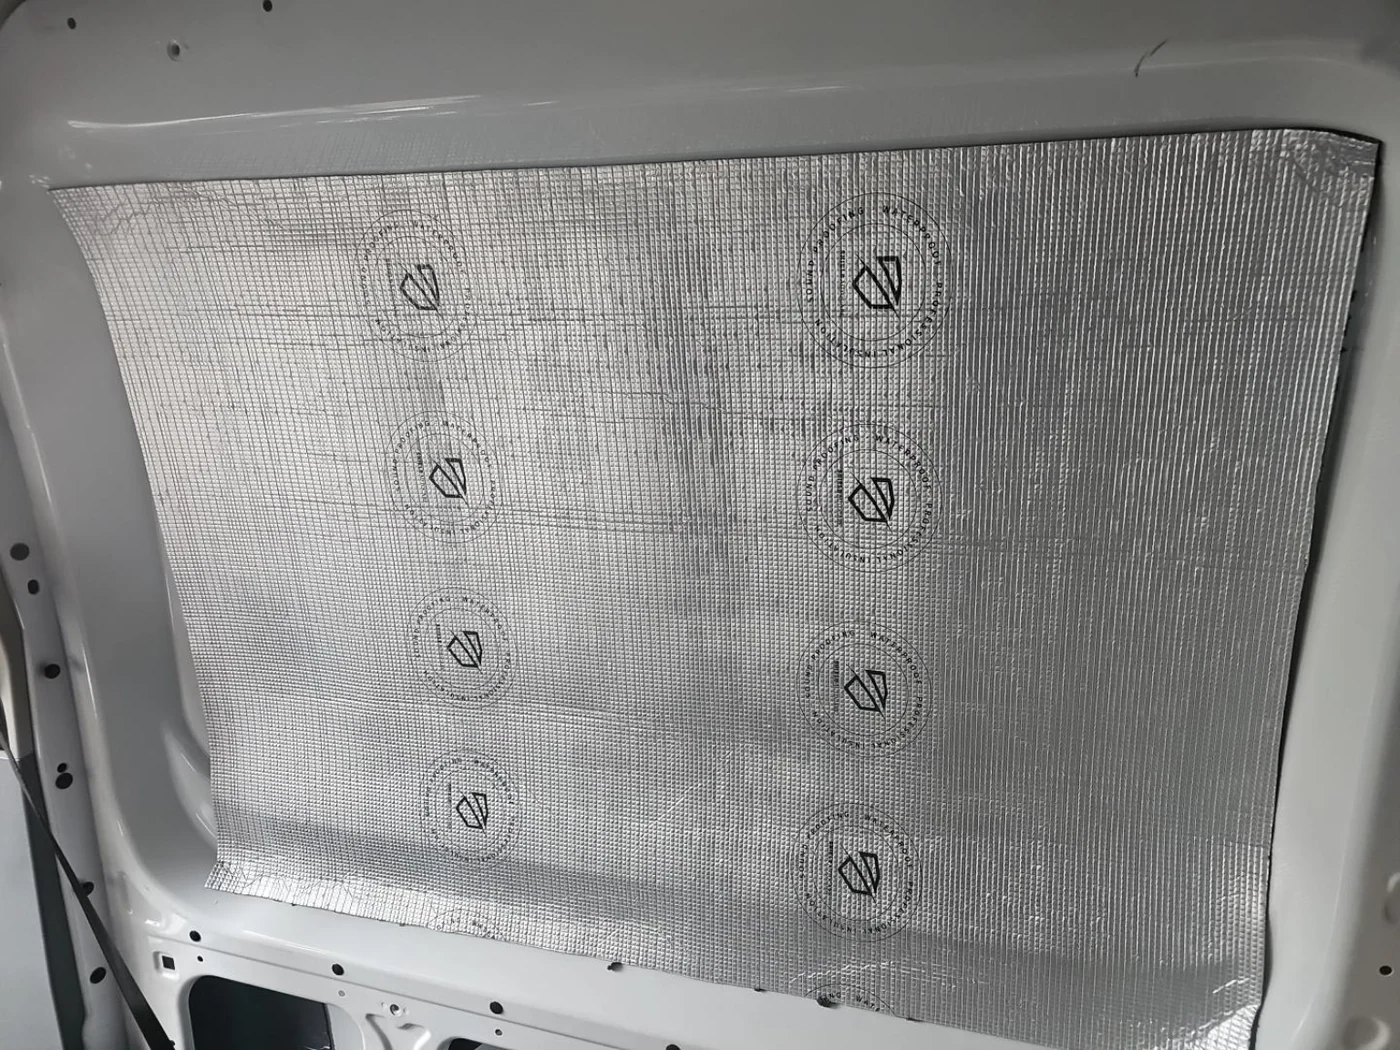
  11. Silver foil insulation fitted into a recessed panel in the white van wall
    11

    Keeping cosy.

    The wall insulation is going in! We’re adding it to help keep warmth in during winter and the van cooler in summer.

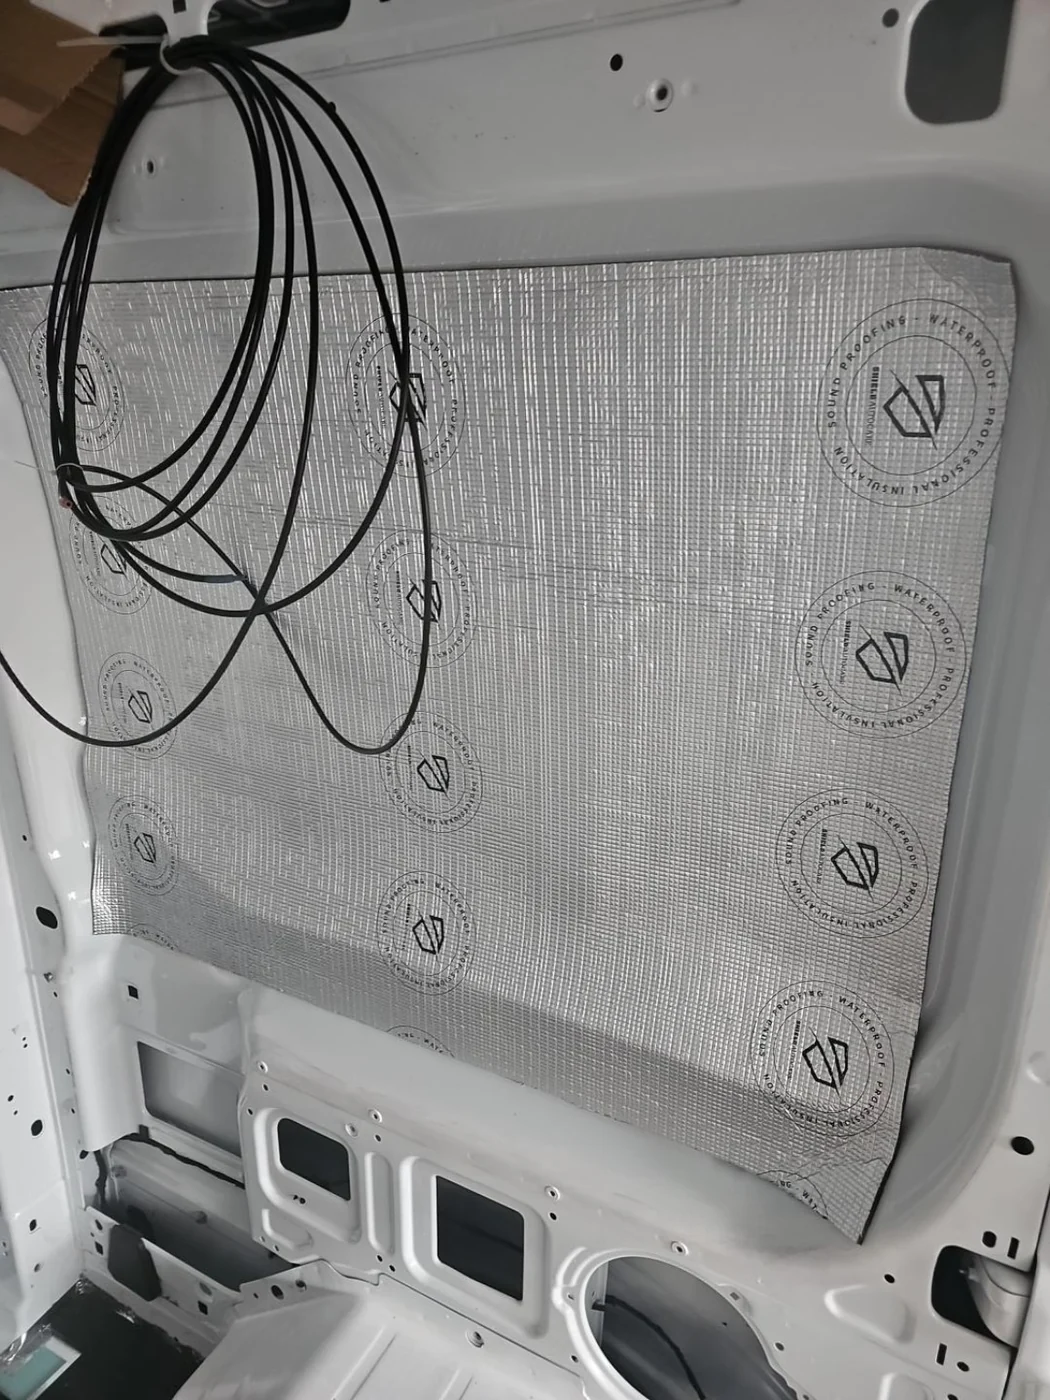
  12. Insulated van wall panel with coiled black cables above and a wheel arch below
    12

    One panel at a time.

    More sections of the walls are being insulated as the interior takes shape. A little more progress towards our future coffee workspace.

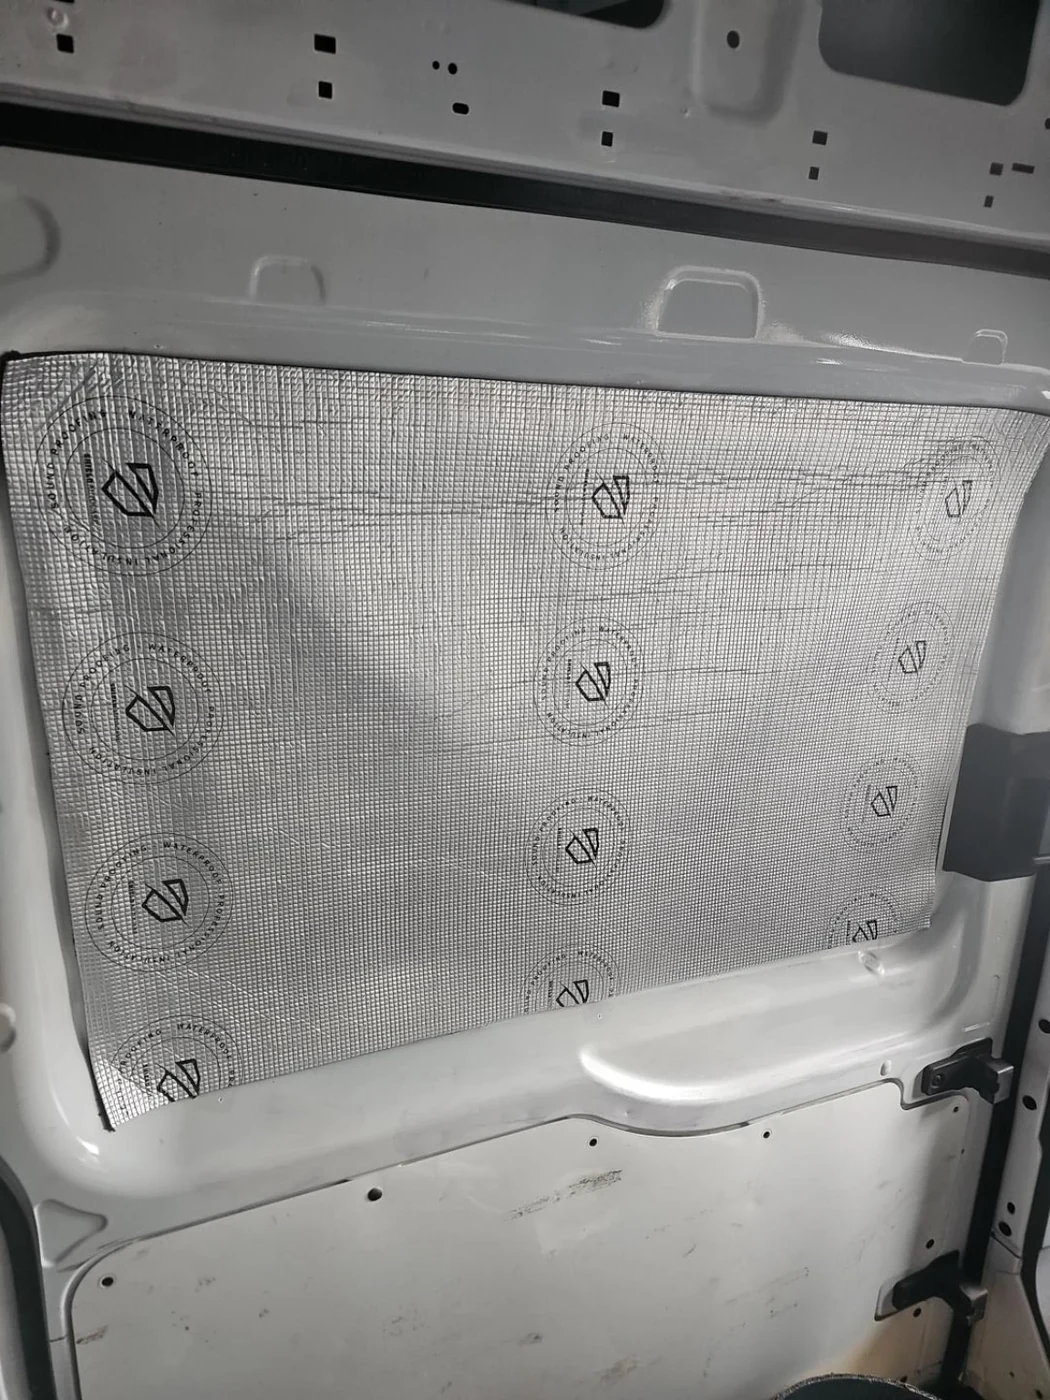
  13. Silver foil insulation fitted to the inside panel of a white van door
    13

    Every section counts.

    Another panel fitted, this time inside the door. Step by step, we’re getting the van ready for coffee through the seasons.

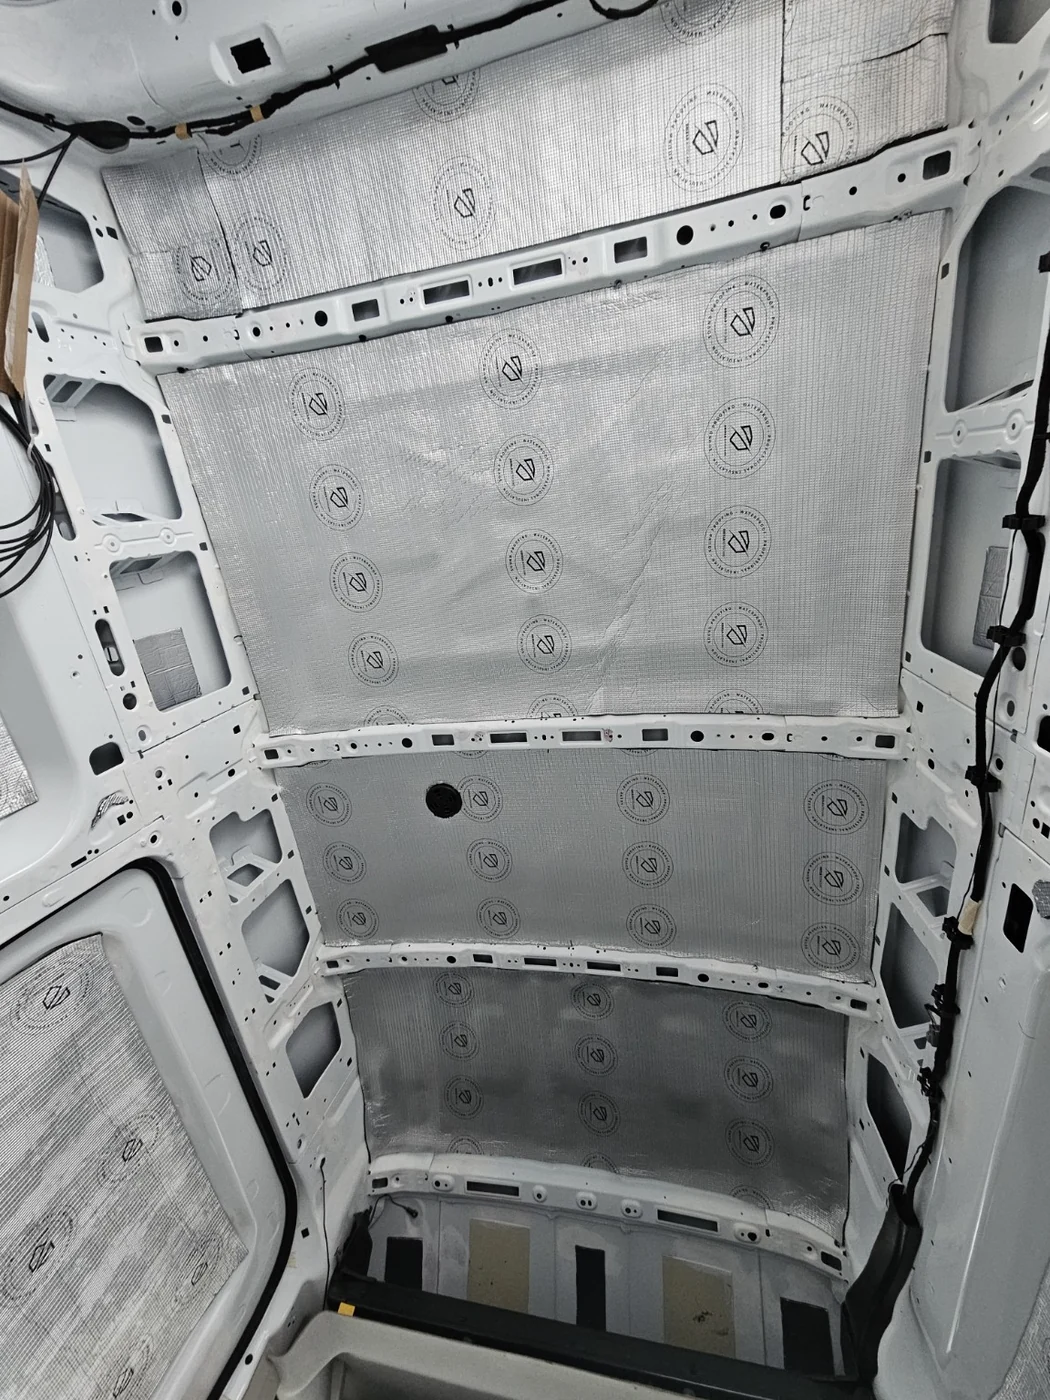
  14. Silver foil insulation fitted between the roof ribs across the van ceiling
    14

    Ceiling insulated.

    The ceiling insulation is in place! Next, we’ll fill the gaps and cavities with recycled insulation before fitting the water vapour barrier. Another step towards a comfortable coffee van, whatever the season.

  15. White insulation filling upper van wall cavities beneath the foil-lined ceiling
    15

    Filling the cavities.

    The next stage is underway! Some of the wall cavities have now been filled with recycled insulation, adding to the insulation already fitted to the walls and ceiling.

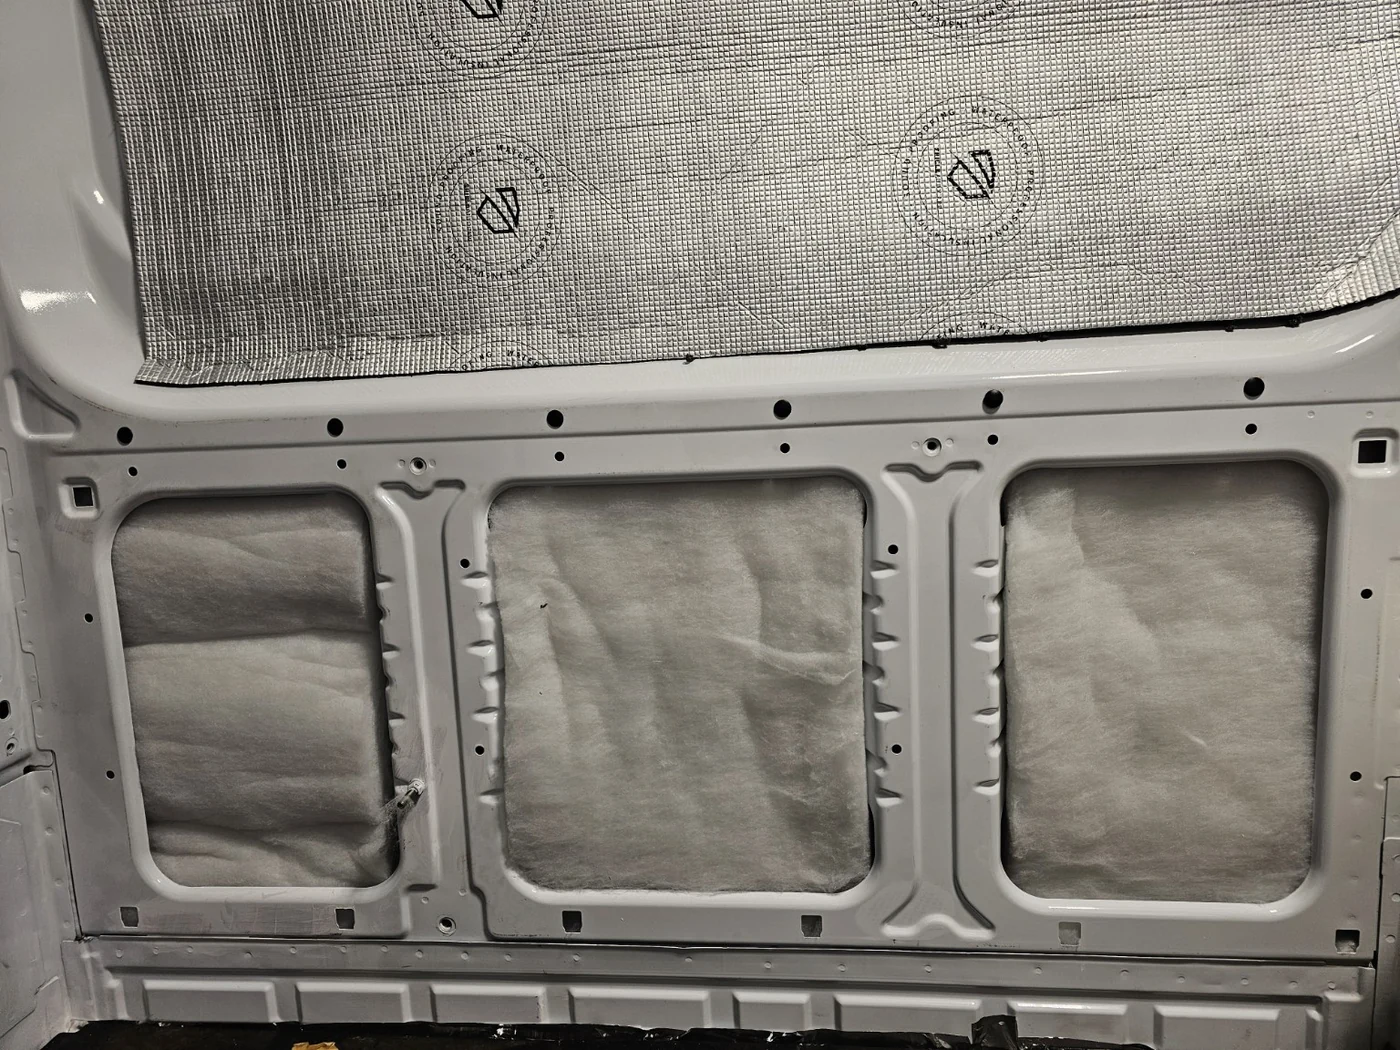
  16. Three lower wall cavities filled with white insulation beneath a silver foil panel
    16

    Working our way down.

    The lower wall sections are getting their insulation too. Another part of the van taking shape before everything is covered up.

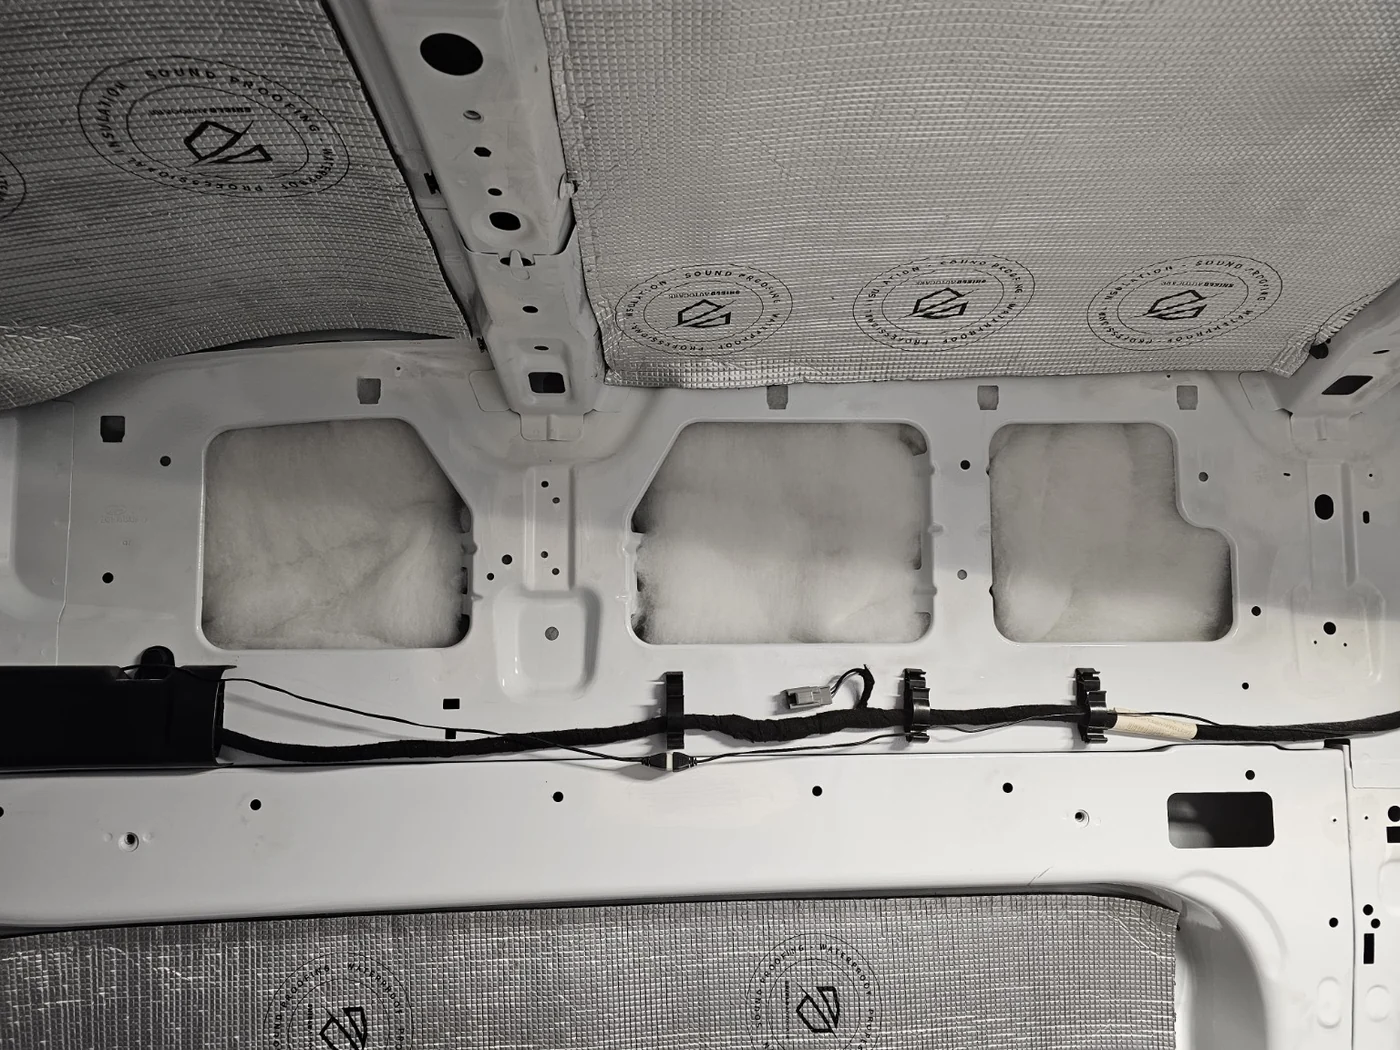
  17. Upper wall cavities filled with insulation above the exposed wiring loom
    17

    Progress behind the panels.

    More cavities filled along the upper walls. These hidden layers are part of making our future coffee workspace more comfortable through the seasons.

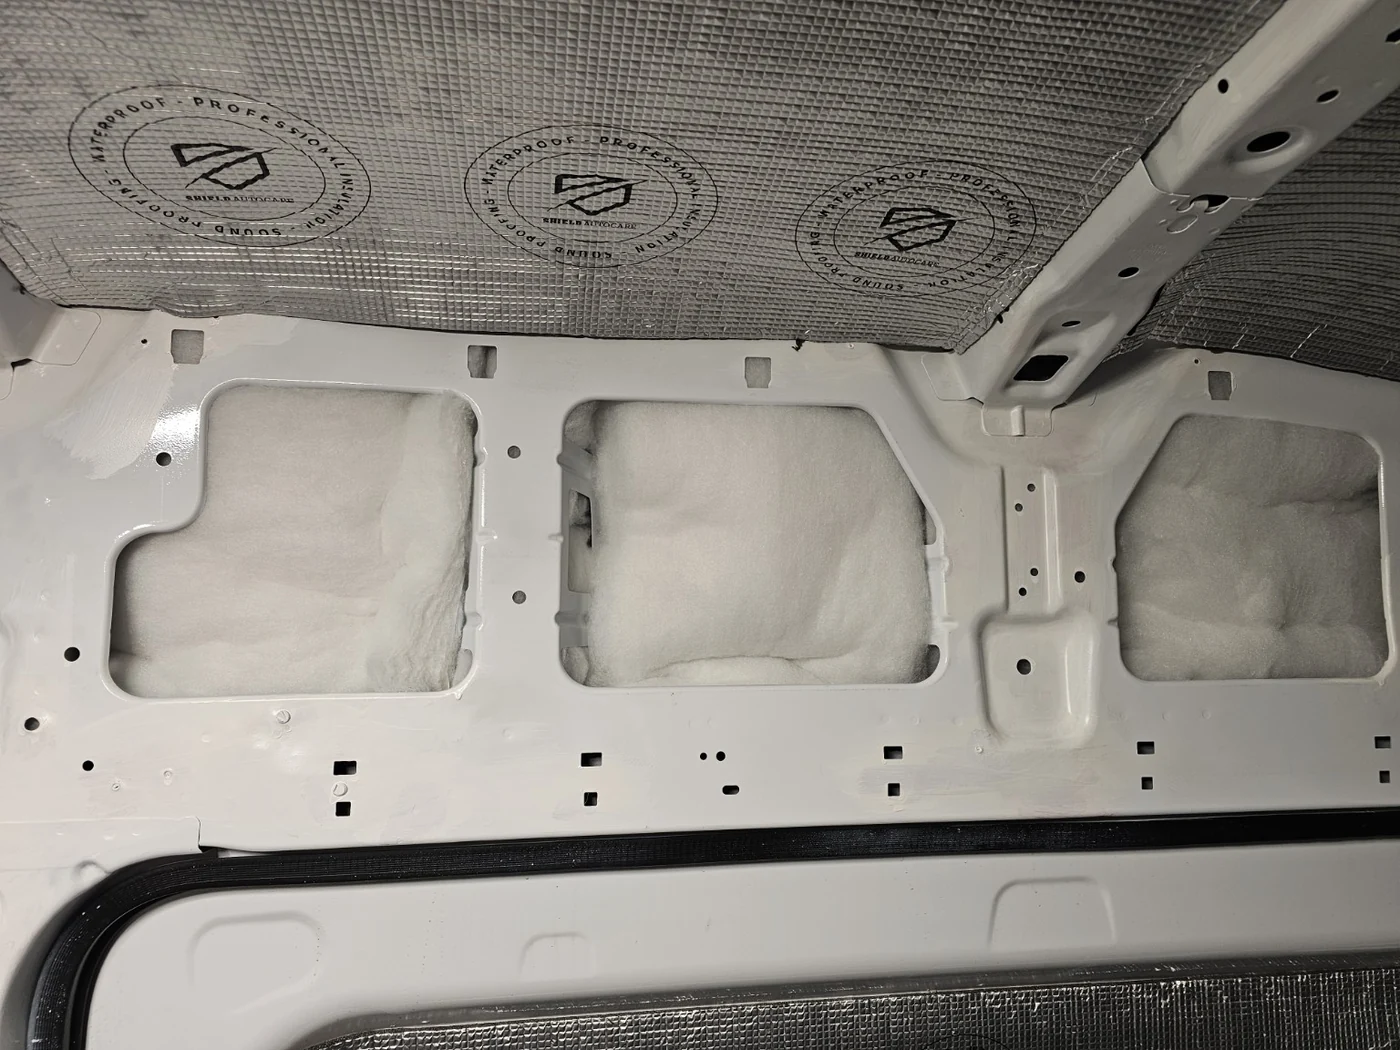
  18. White insulation fitted into cavities above a van door beneath the insulated roof
    18

    A little more insulated.

    Some cavities are now filled, with more still to do. Once the remaining gaps are insulated, the water vapour barrier comes next.

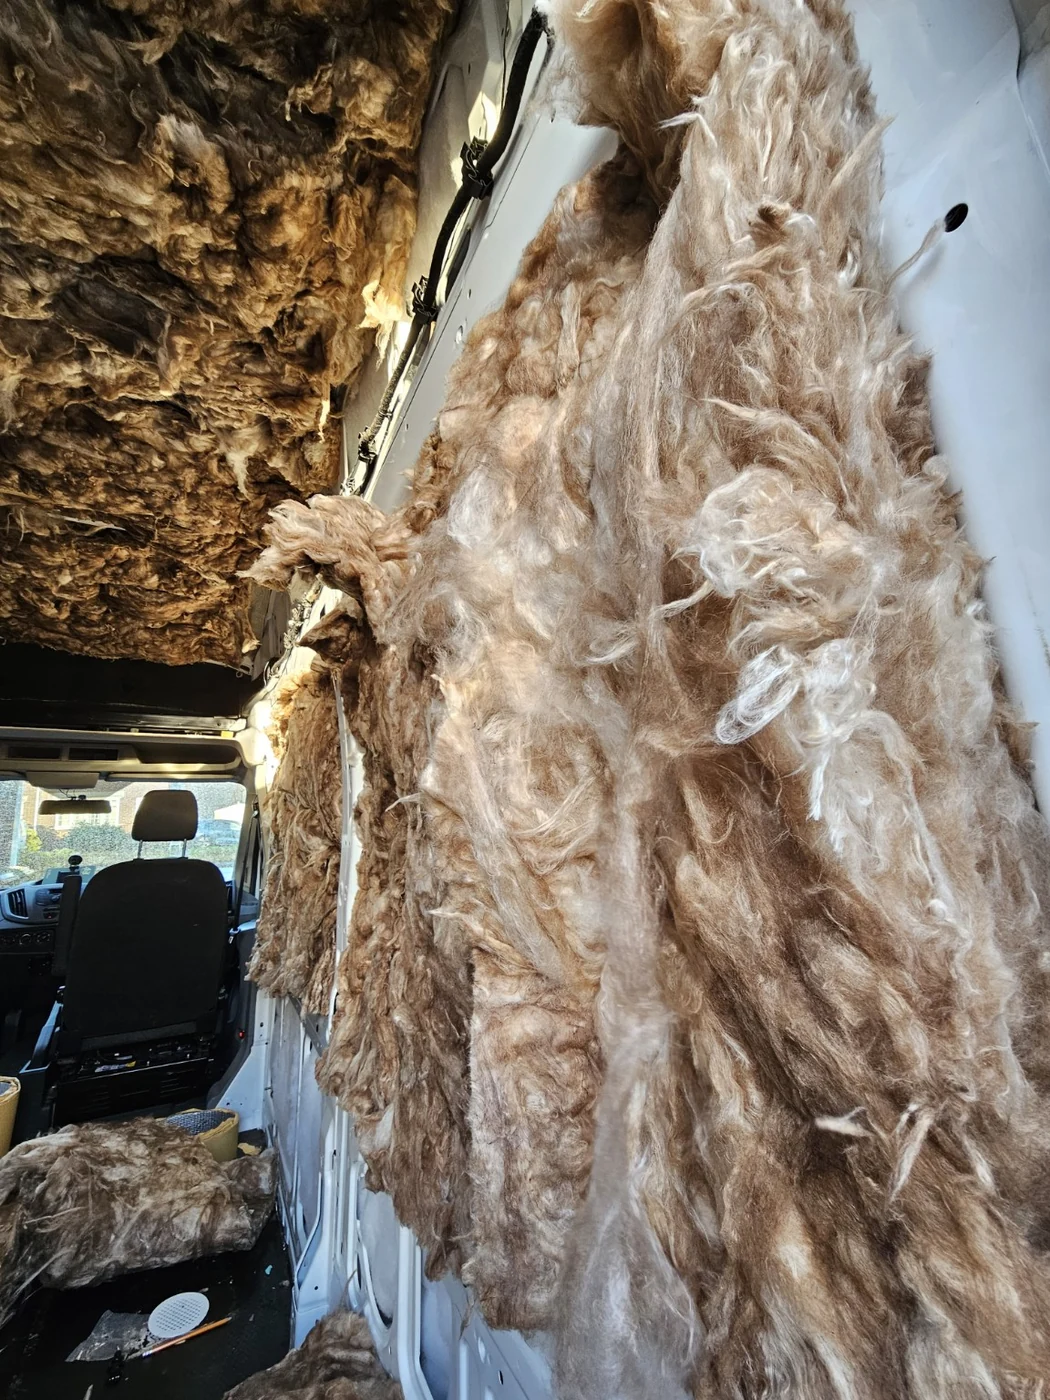
  19. Brown fibrous insulation fitted along the van walls and ceiling, looking towards the cab
    19

    The last of the insulation.

    The final insulation is going in along the walls. Another milestone in turning our van into a comfortable home for Finom Coffee.

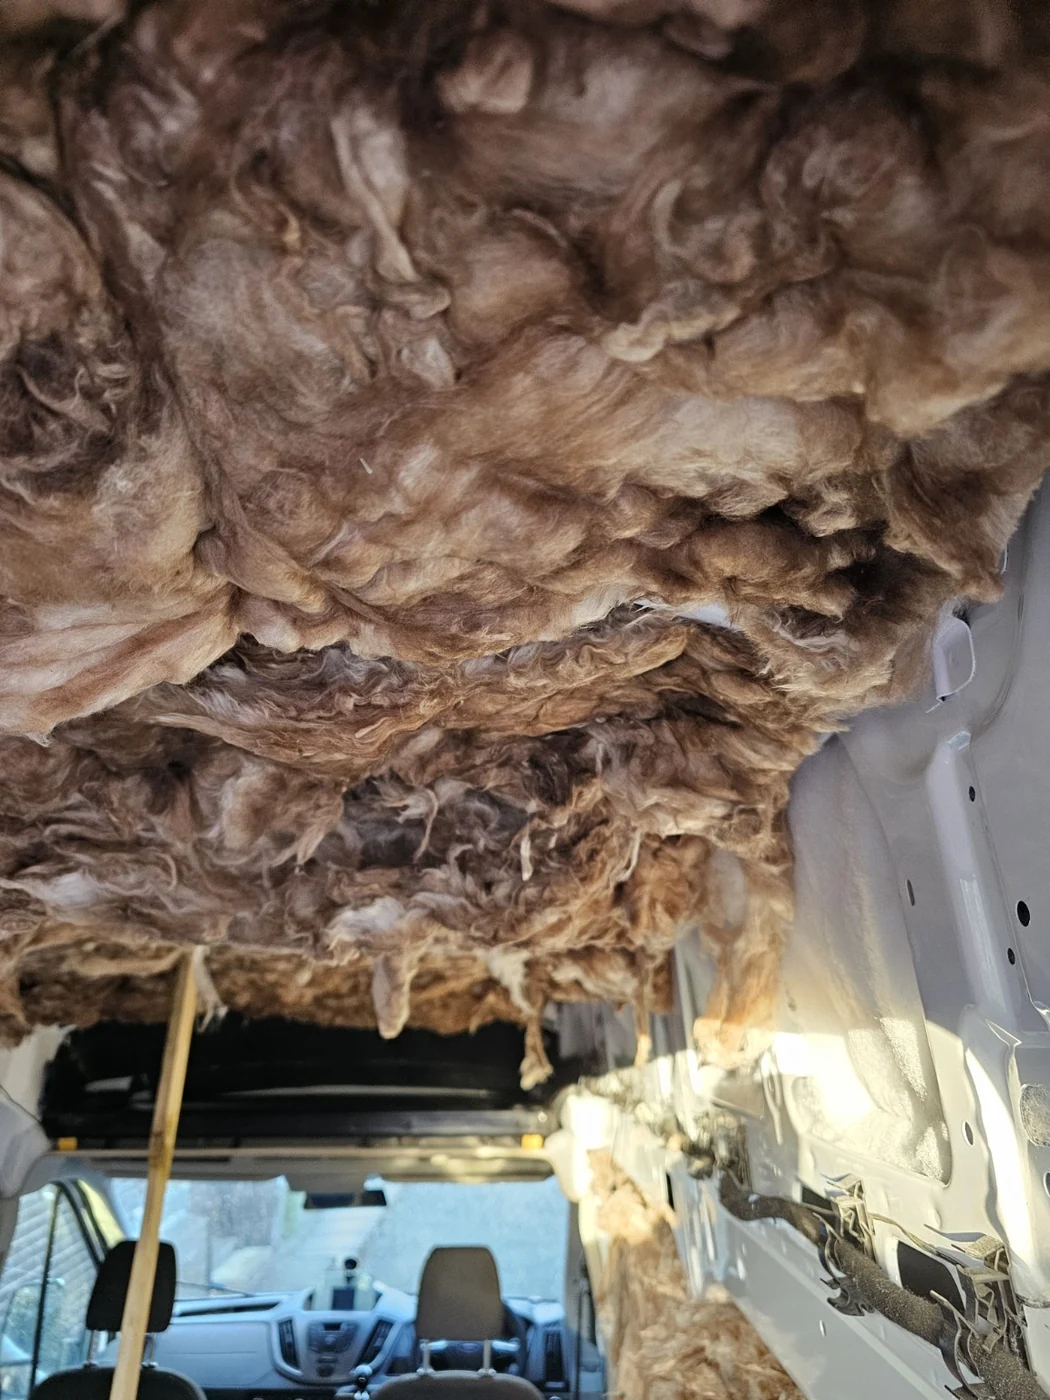
  20. Close view of fibrous ceiling insulation above the cab end of the van
    20

    Wrapped up overhead.

    A closer look at the ceiling as this stage of the insulation work comes to a close. Next comes the conduit for the electrics.

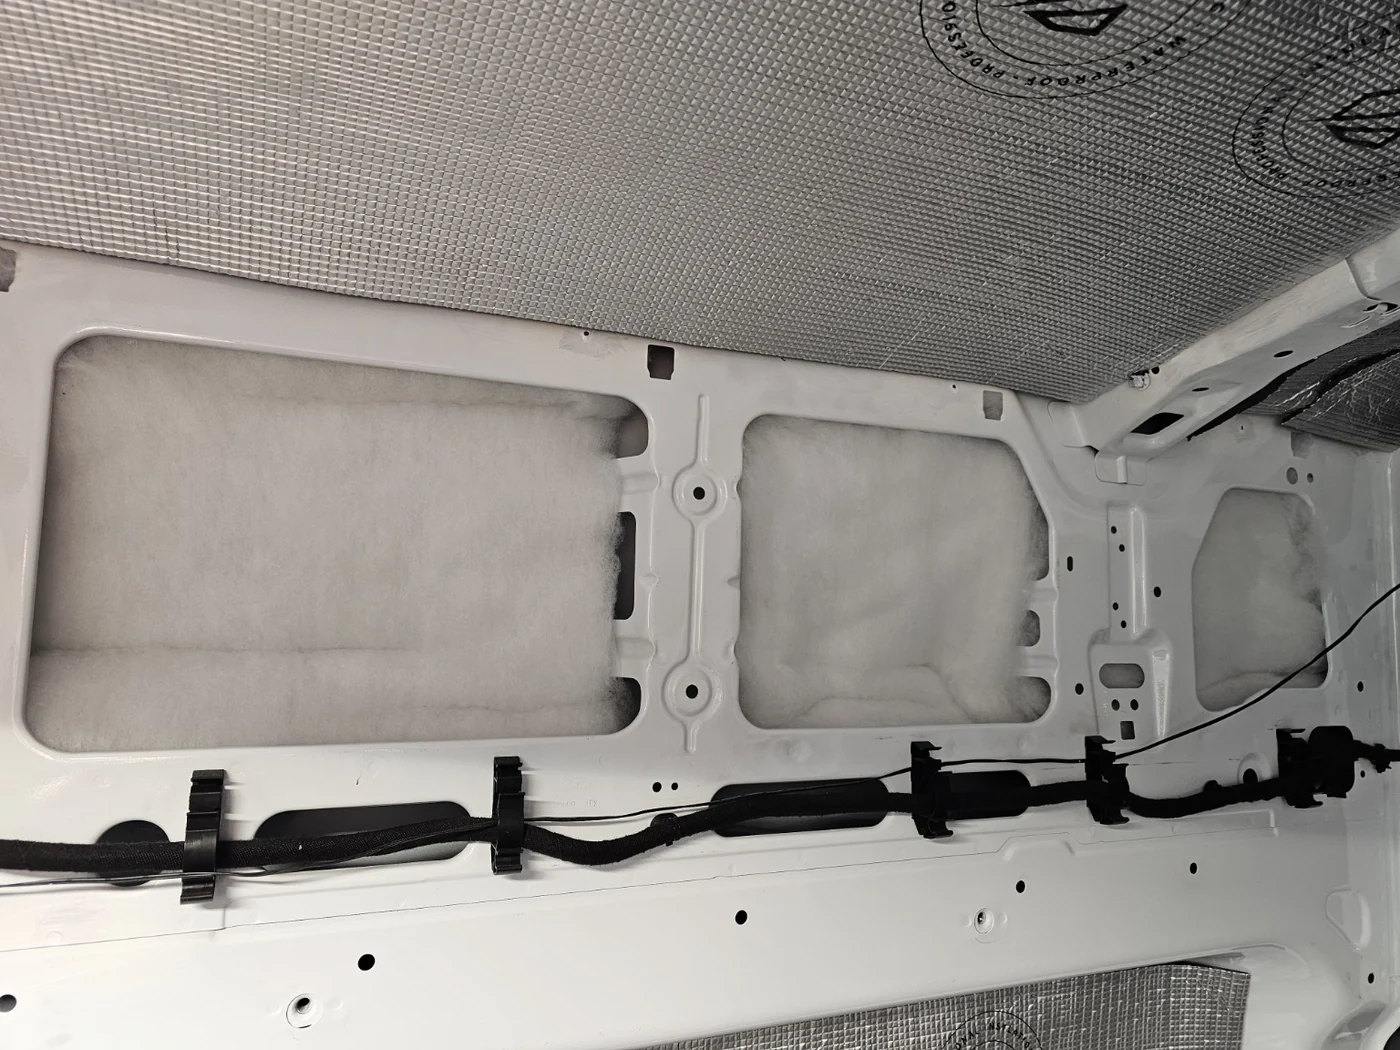
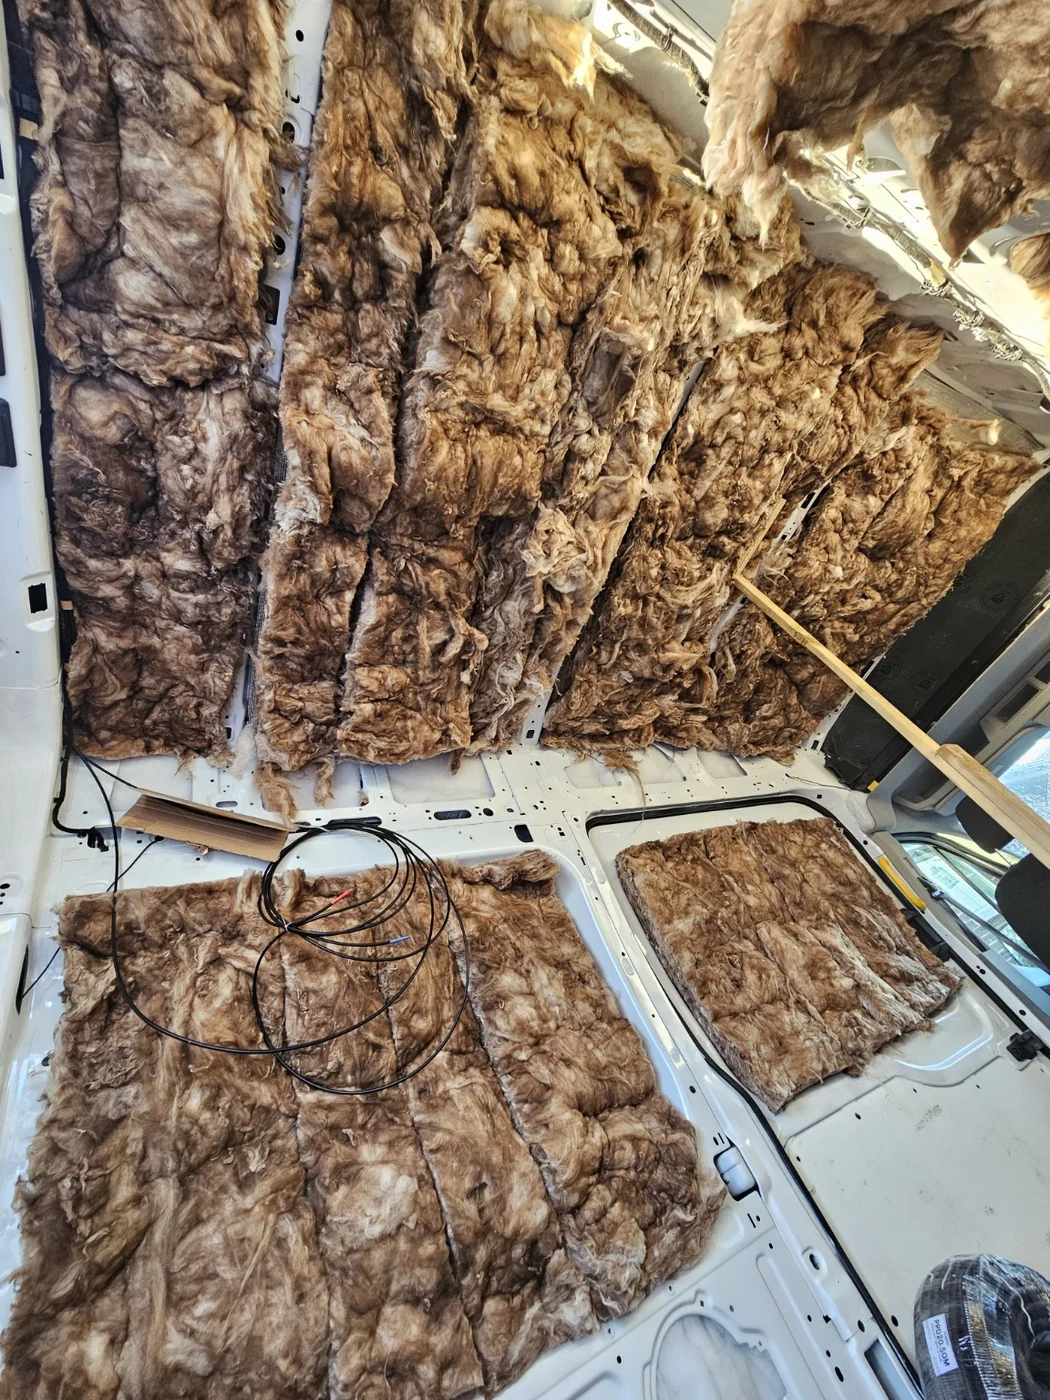
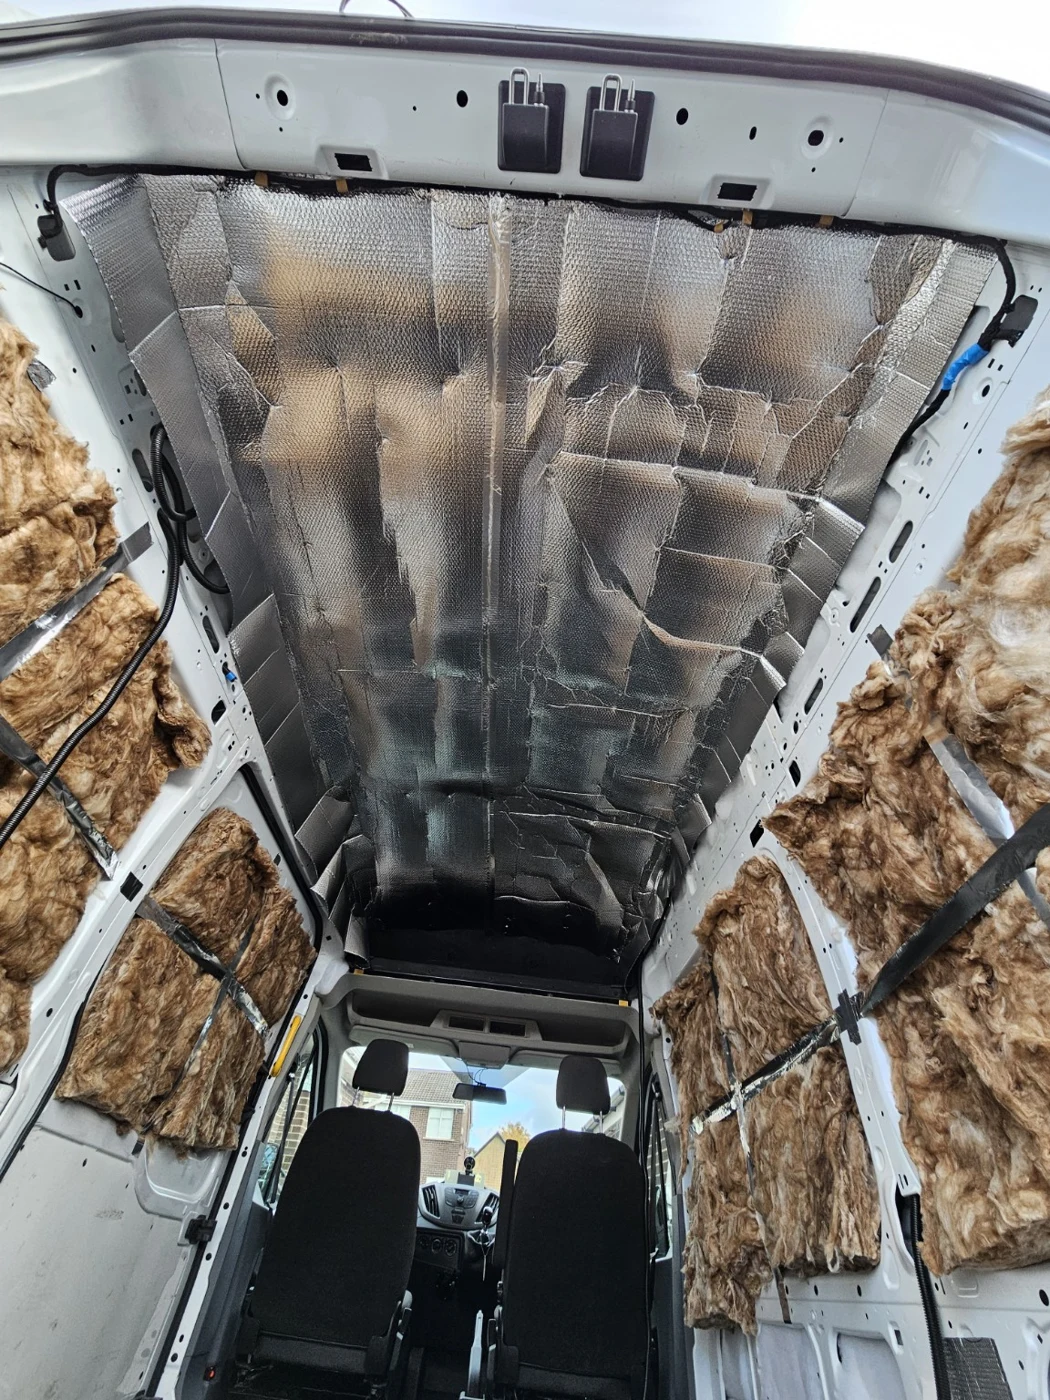
  21. Wide view of insulation across the van ceiling and side panels with coiled cables visible
    21

    Ready for the next layers.

    With the last of the insulation in place, we’re moving on to electrical conduit, then water vapour barriers. After that, plywood can go on to create a flat, smooth surface.

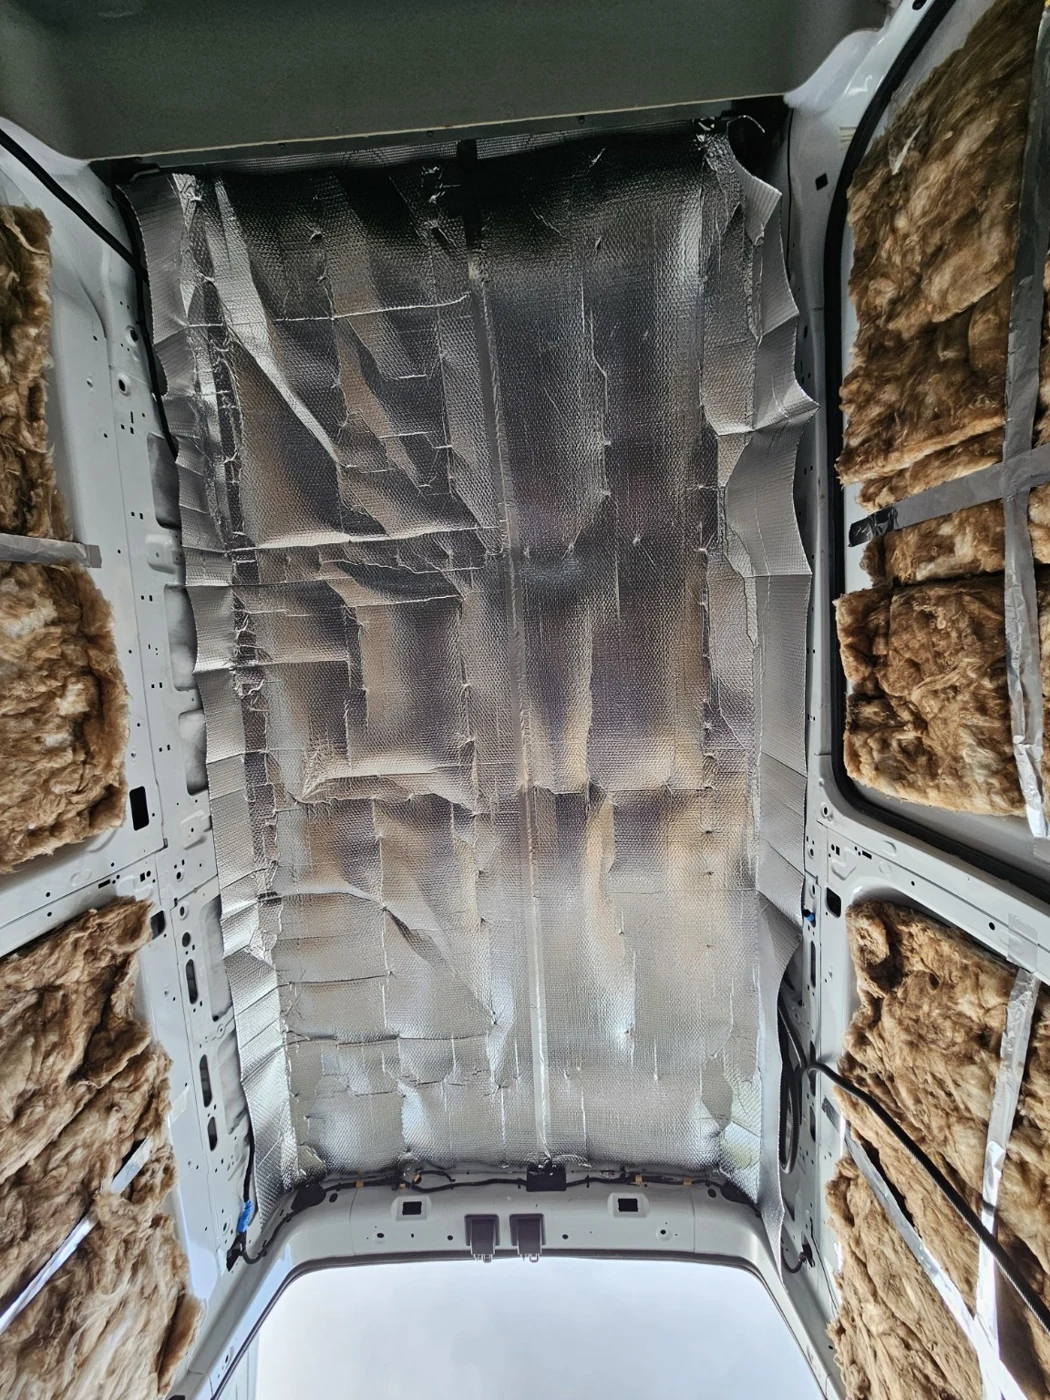
  22. Ceiling vapour barrier fitted inside the van with insulated walls and electrical conduit visible
    22

    Conduit in. Barrier on.

    The electrical conduit is in, and the water vapour barrier is now fitted across the ceiling. Another layer in place as the Finom Coffee build moves forward.

  23. View towards the cab showing the ceiling vapour barrier and conduit alongside the insulated walls
    23

    Walls next.

    With the conduit installed and the ceiling vapour barrier on, the walls are next. We’re getting ready for the plywood to create a flat, smooth surface inside our future coffee van.

NEXT UP

Walls next.

The conduit is in and the ceiling vapour barrier is on. Next we’ll move on to the walls, ready for plywood to create a flat, smooth surface for the next stage of the interior.

ON THE HORIZON

Our first coffee stop.

Yorkshire, we’ll see you soon.

Launch date, drinks menu and first stops to be announced.